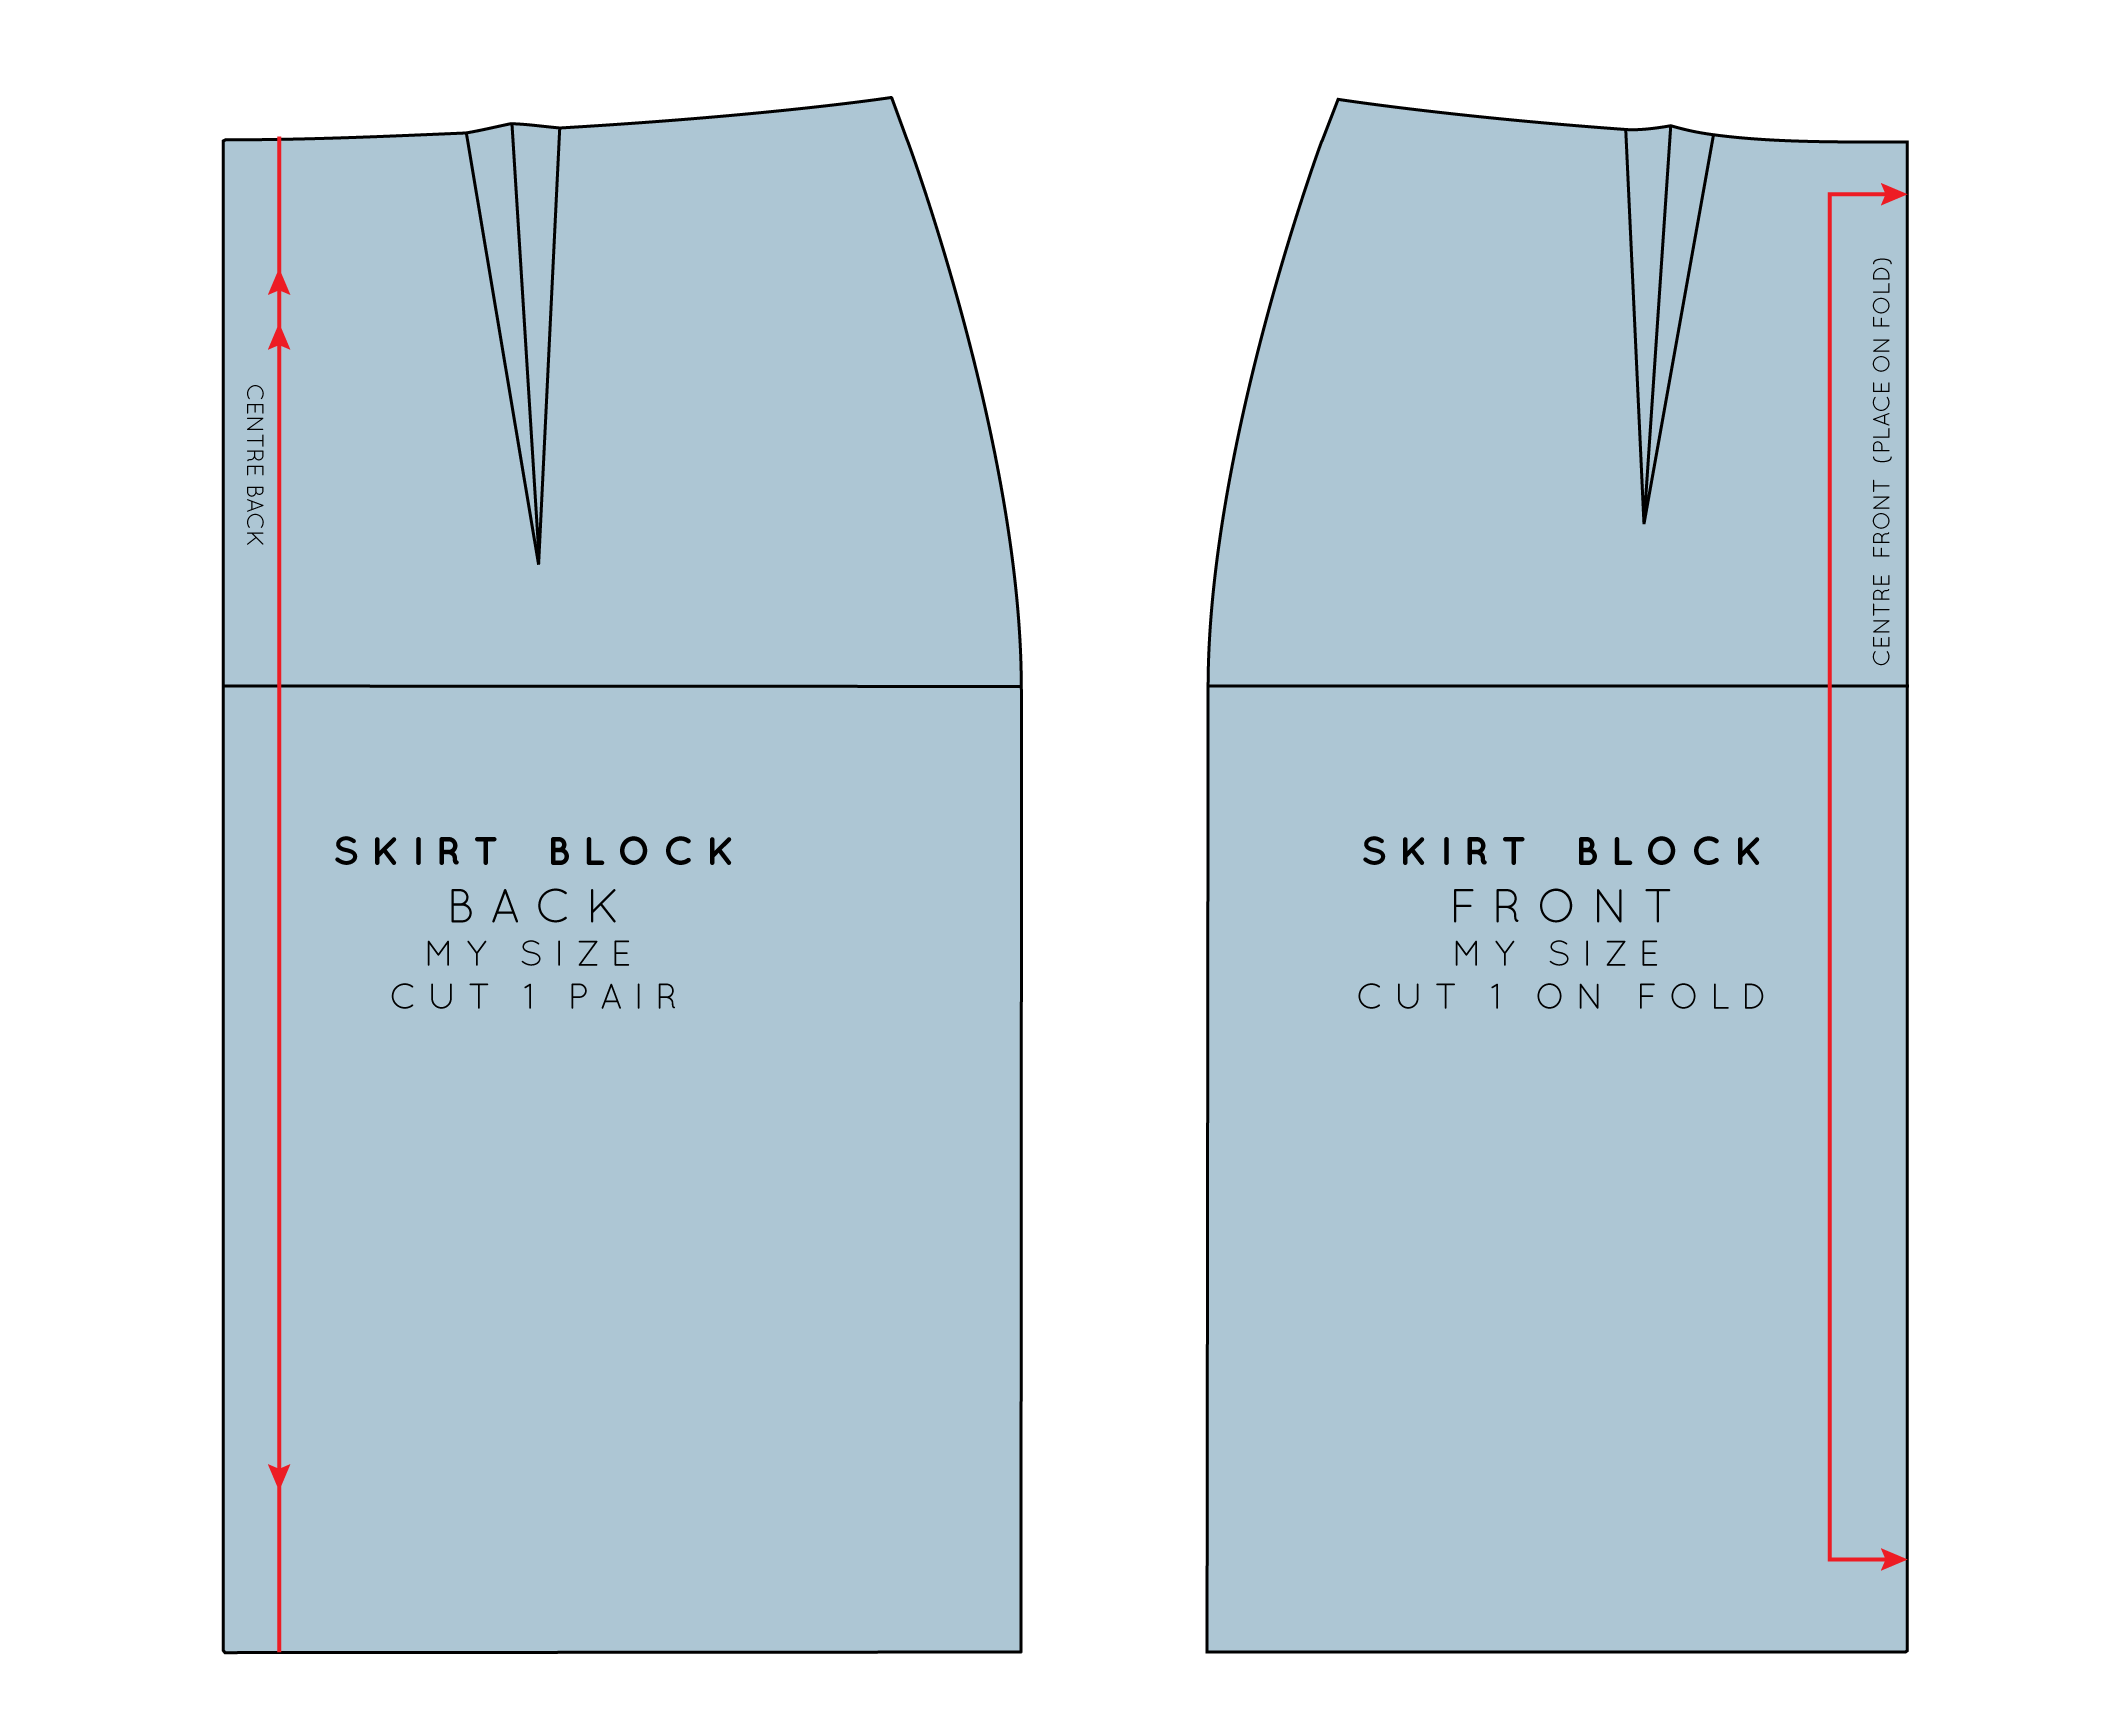
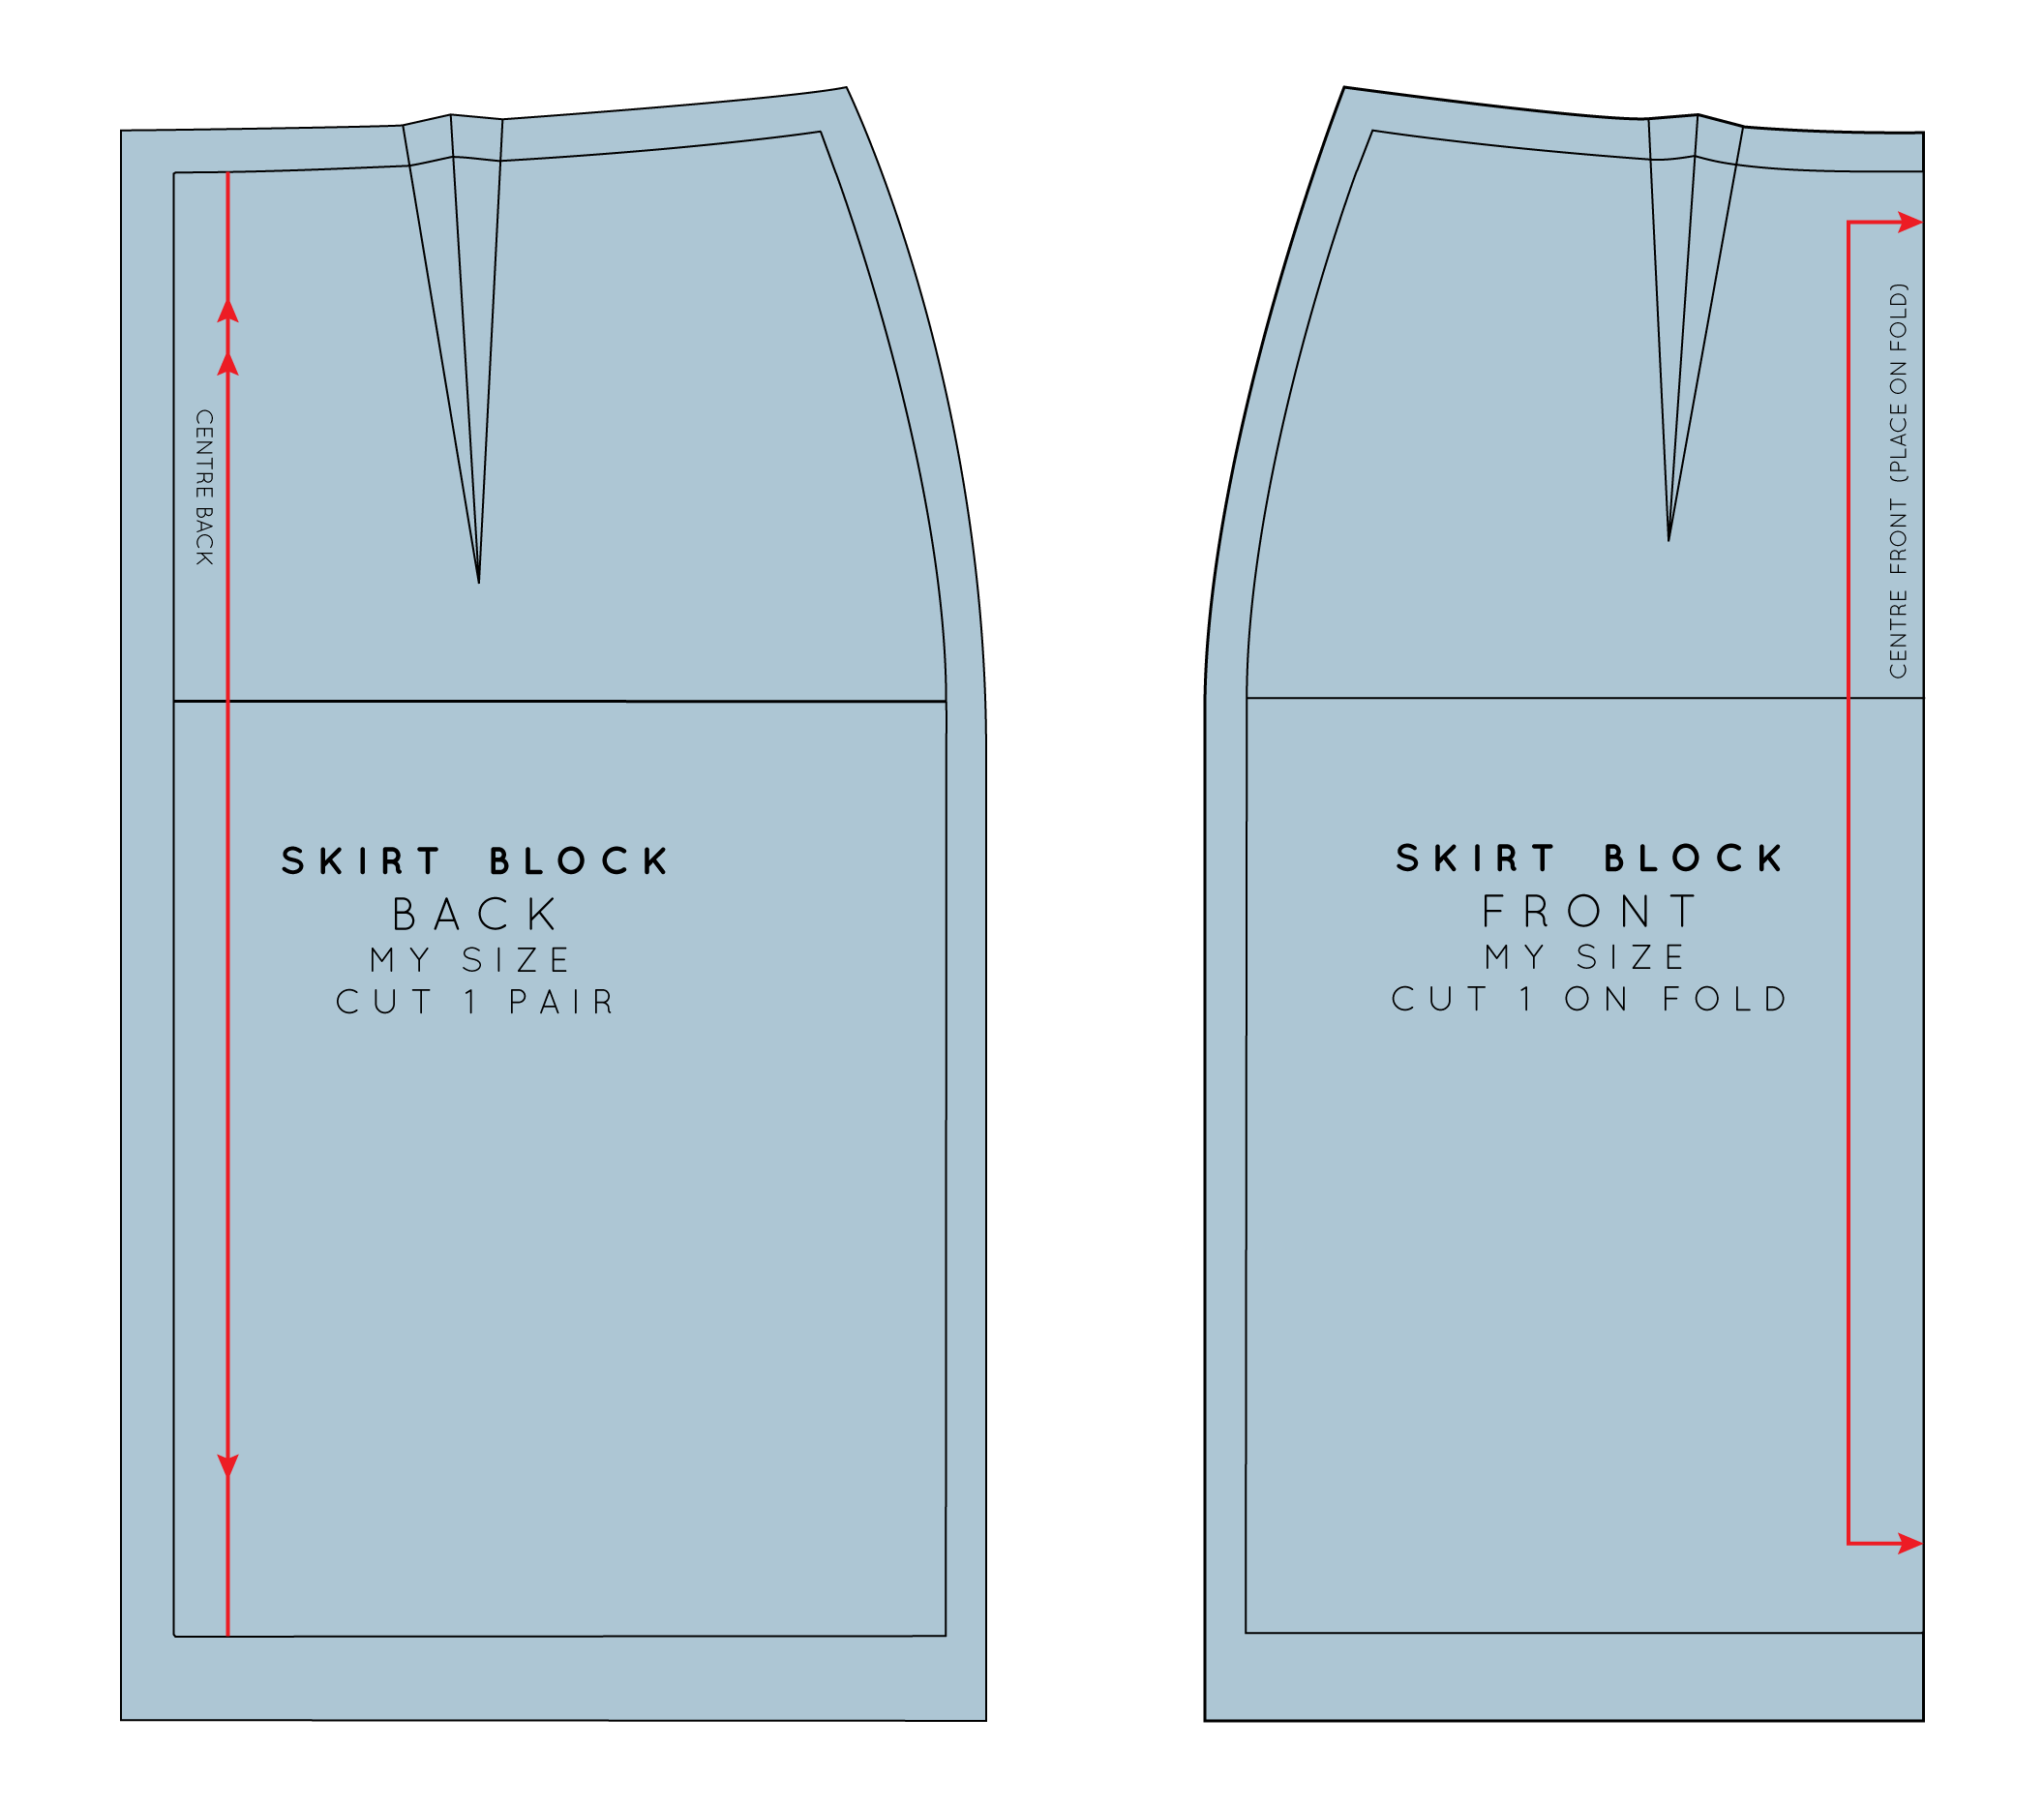
Last week, I showed you how to draft a skirt block from your own measurements, and then how to add shaping to the darts at the waistline, as part of The Skirt Series.
Before going ahead and making a toile to see how it fits, you will need to add seam allowance and pattern markings (which will be in tomorrow's post).
What is seam allowance?
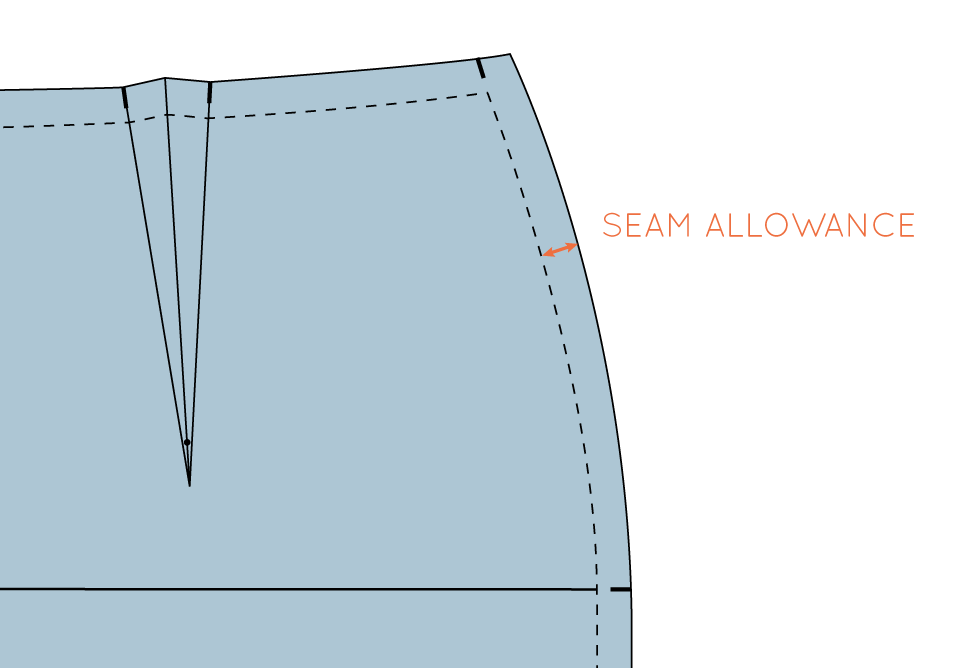
Seam allowance is the extra space you add around the edge of a pattern piece so that it can be sewn together.
If you do not plan to make up a toile of your pattern (in the case of pattern blocks), then there is no need to add seam allowance. When you are using a block to create a pattern it is much easier to use it without seam allowance and then add seam allowance once the pattern is complete.
How do I add seam allowance?
I find that the easiest way to add seam allowance is with a long transparent ruler. Not to worry if you don’t have one though, you can just use and ordinary ruler and mark the seam allowance width at intervals along the seam and then draw the line through all the points.
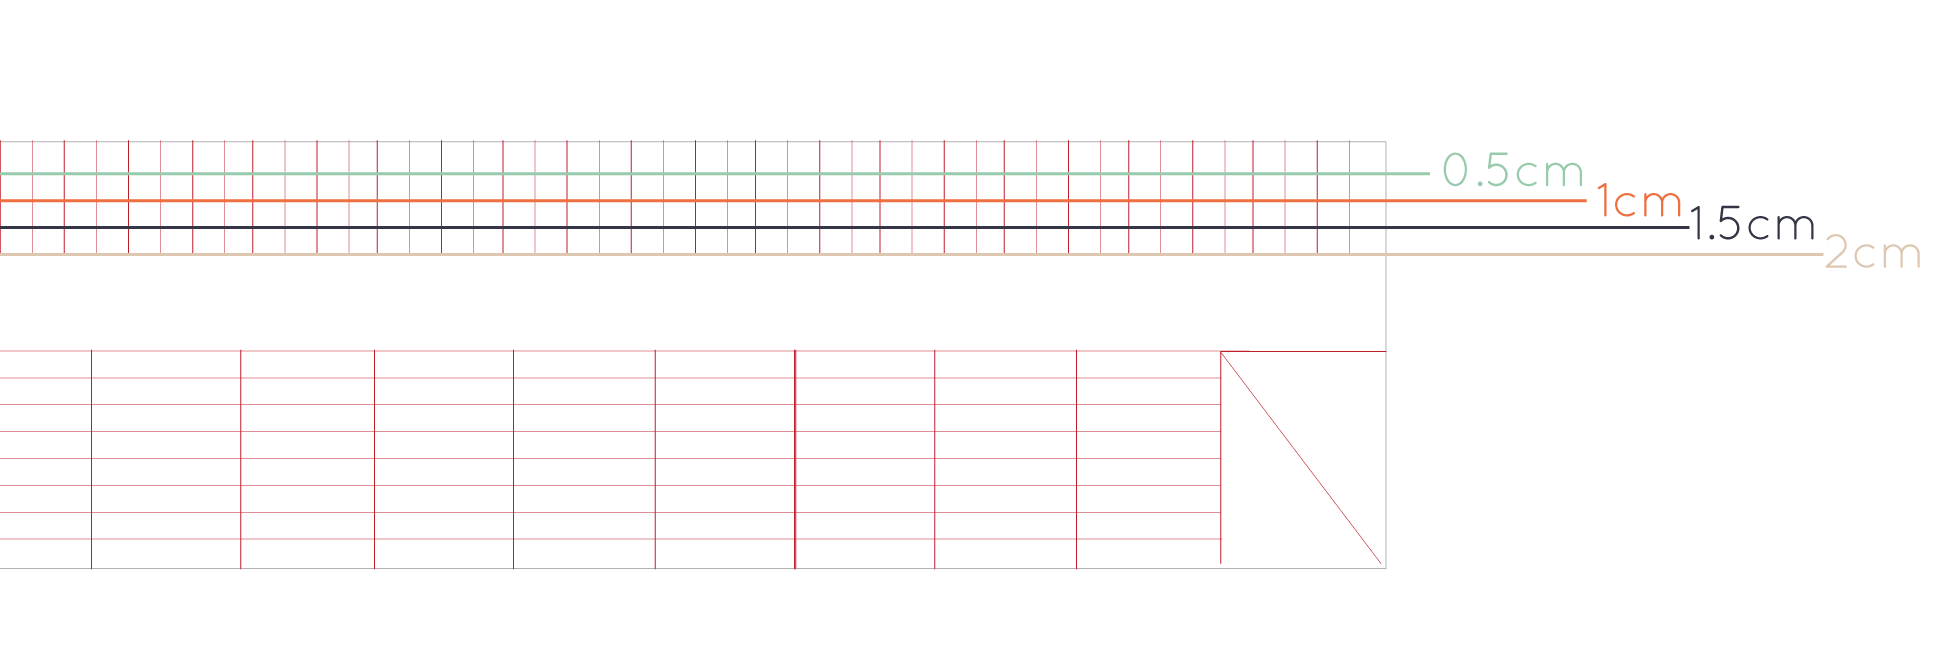
I have two different rulers, which I find super helpful. One only shows centimetres, but also has lines to indicate the millimetres in between. This one is very handy for when I'm adding 6mm seam allowance to a neckline or 12mm to a seam.
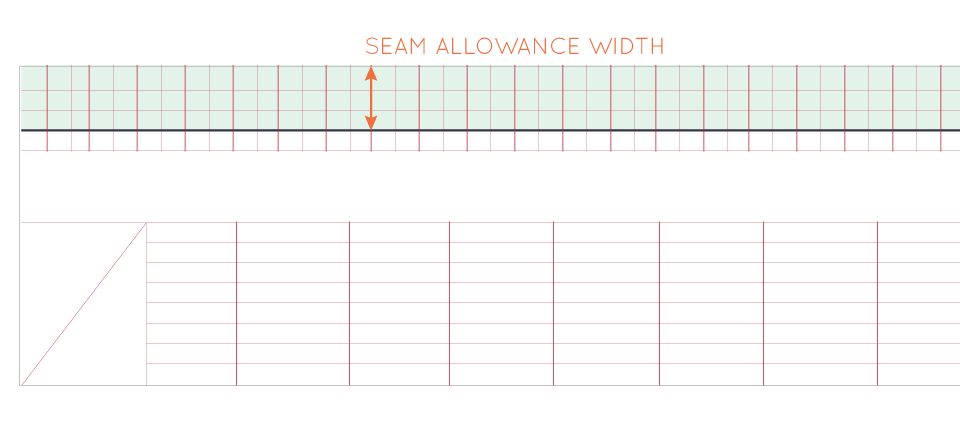
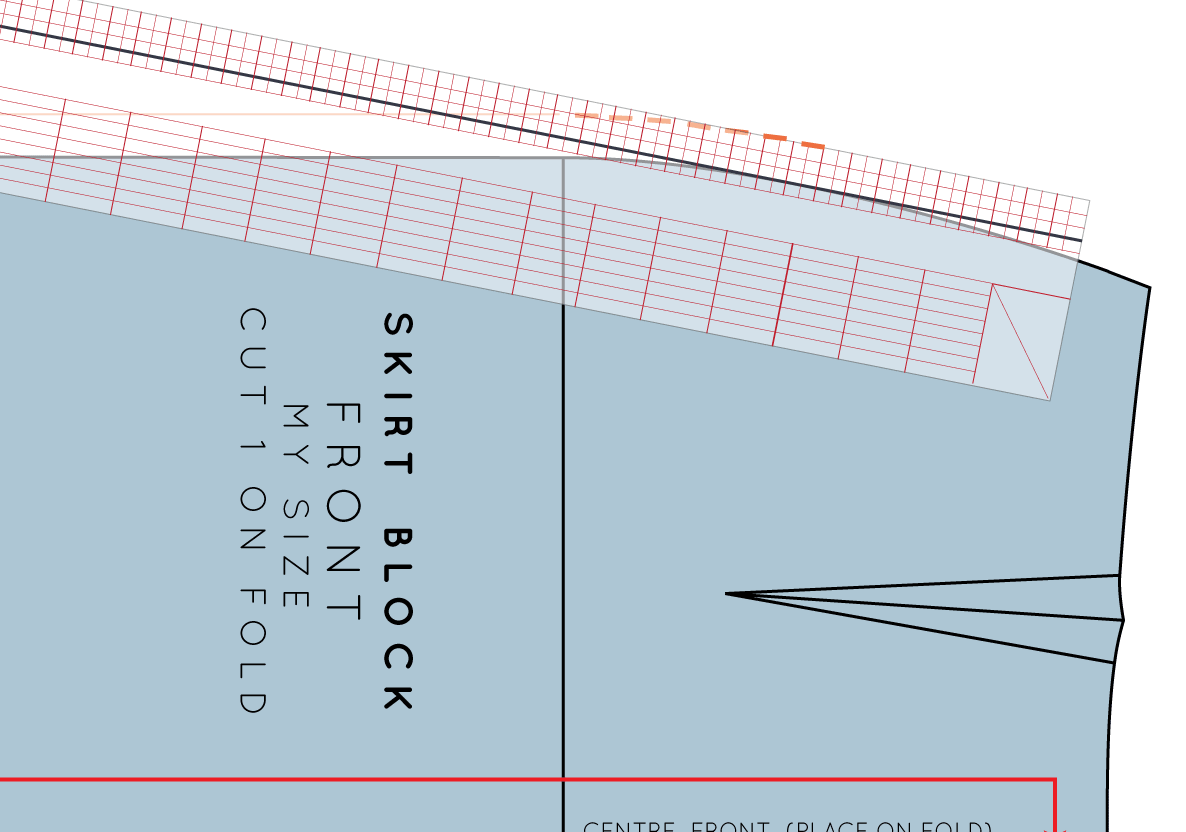
The other, which I have used for this tutorial, only show has a line for every 5mm. If I am using a 1cm / 1.5cm / 2cm seam allowance, then this is definitely the one I reach for, as there are a lot fewer lines to get confused by!
Before getting started
Before getting started, have a think about the seam allowances you plan to use. I know some commercial patterns use the same seam allowance on every seam, but I think you are much better off changing the allowance depending on the seam. This will help you get a much cleaner and more professional finish.
The seam allowance required will have a lot to do with the fabric you are using, and how you will be finishing the seams too. For example, if you are making a silk chiffon top, it is best to use a narrow seam allowance, so you are not left with bulky seams that show through. A silk chiffon top is a delicate piece of clothing, that is not worn everyday and is normally hand washed, so it can afford to have smaller seam allowances. But, if you are making a pair of trousers or a coat, you need seams that a stronger (particularly in places where tension is put on the seams - e.g. the crotch of trousers) and therefore need a seam allowance that is wider than what you would use for your chiffon top.
Standard seam allowances
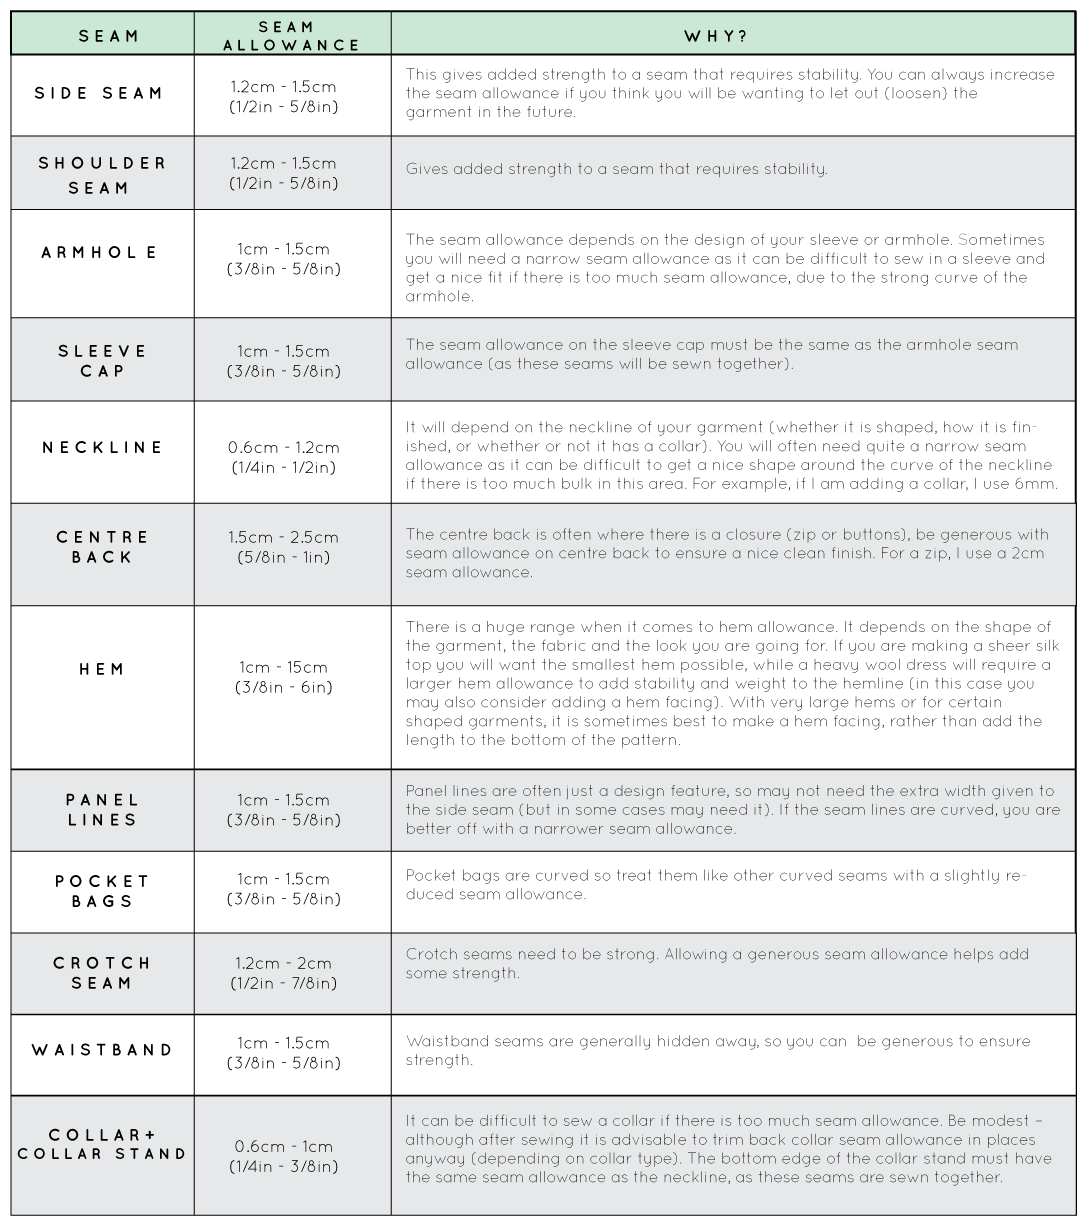
I have put together a table to help guide you with how much seam allowance to add, but as I said, it is up to you! If you click on it, you can download a printable version of the table. It may be handy to put up on the wall in your sewing room!
Adding seam allowance to your skirt block
This tutorial will show you the method I use for adding seam allowance to a pattern, using a skirt block as an example. This method can be used to add seam allowance to any pattern.
Decide on how much seam allowance you will be adding (using the table above if needed) and find where the line is that indicates that width on your ruler.
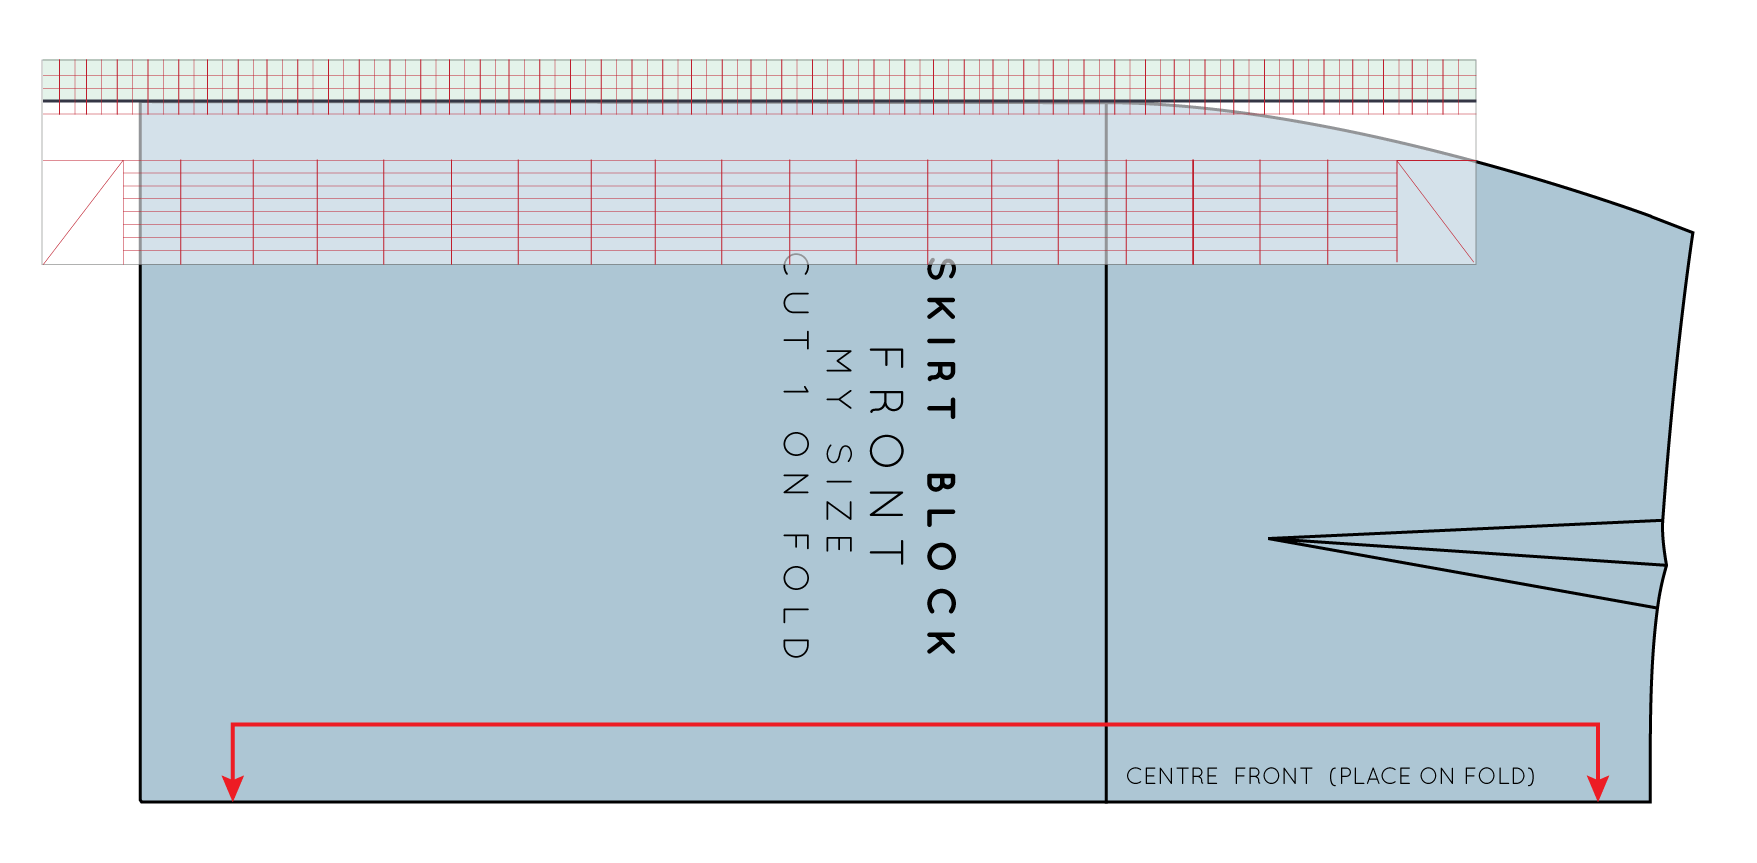
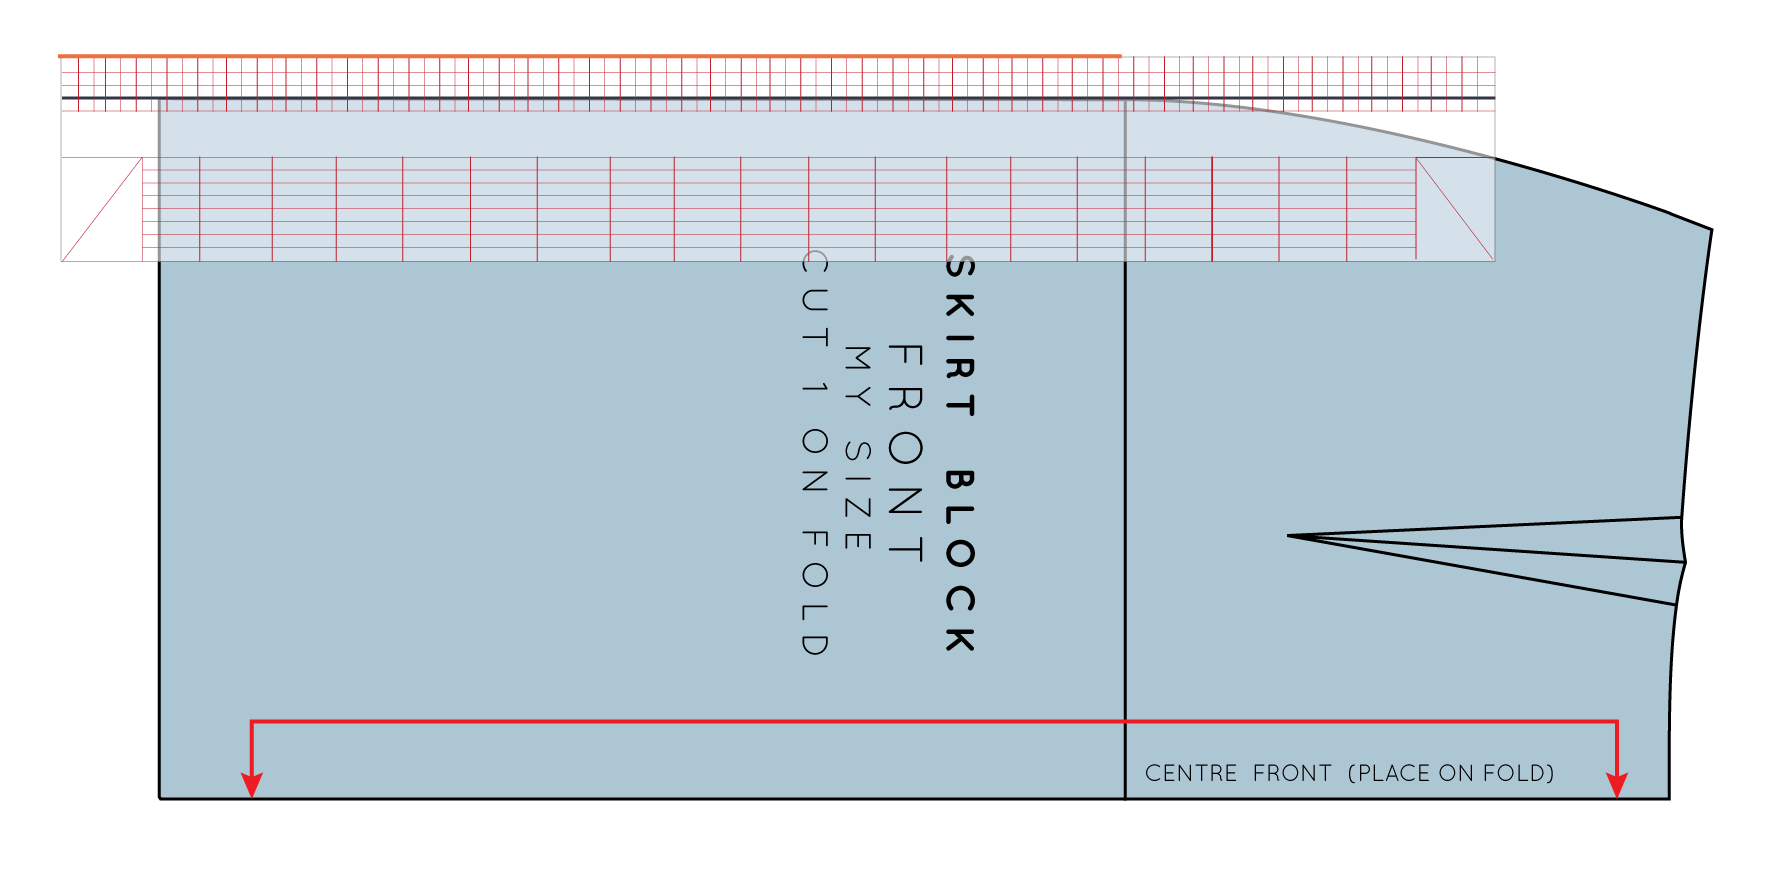
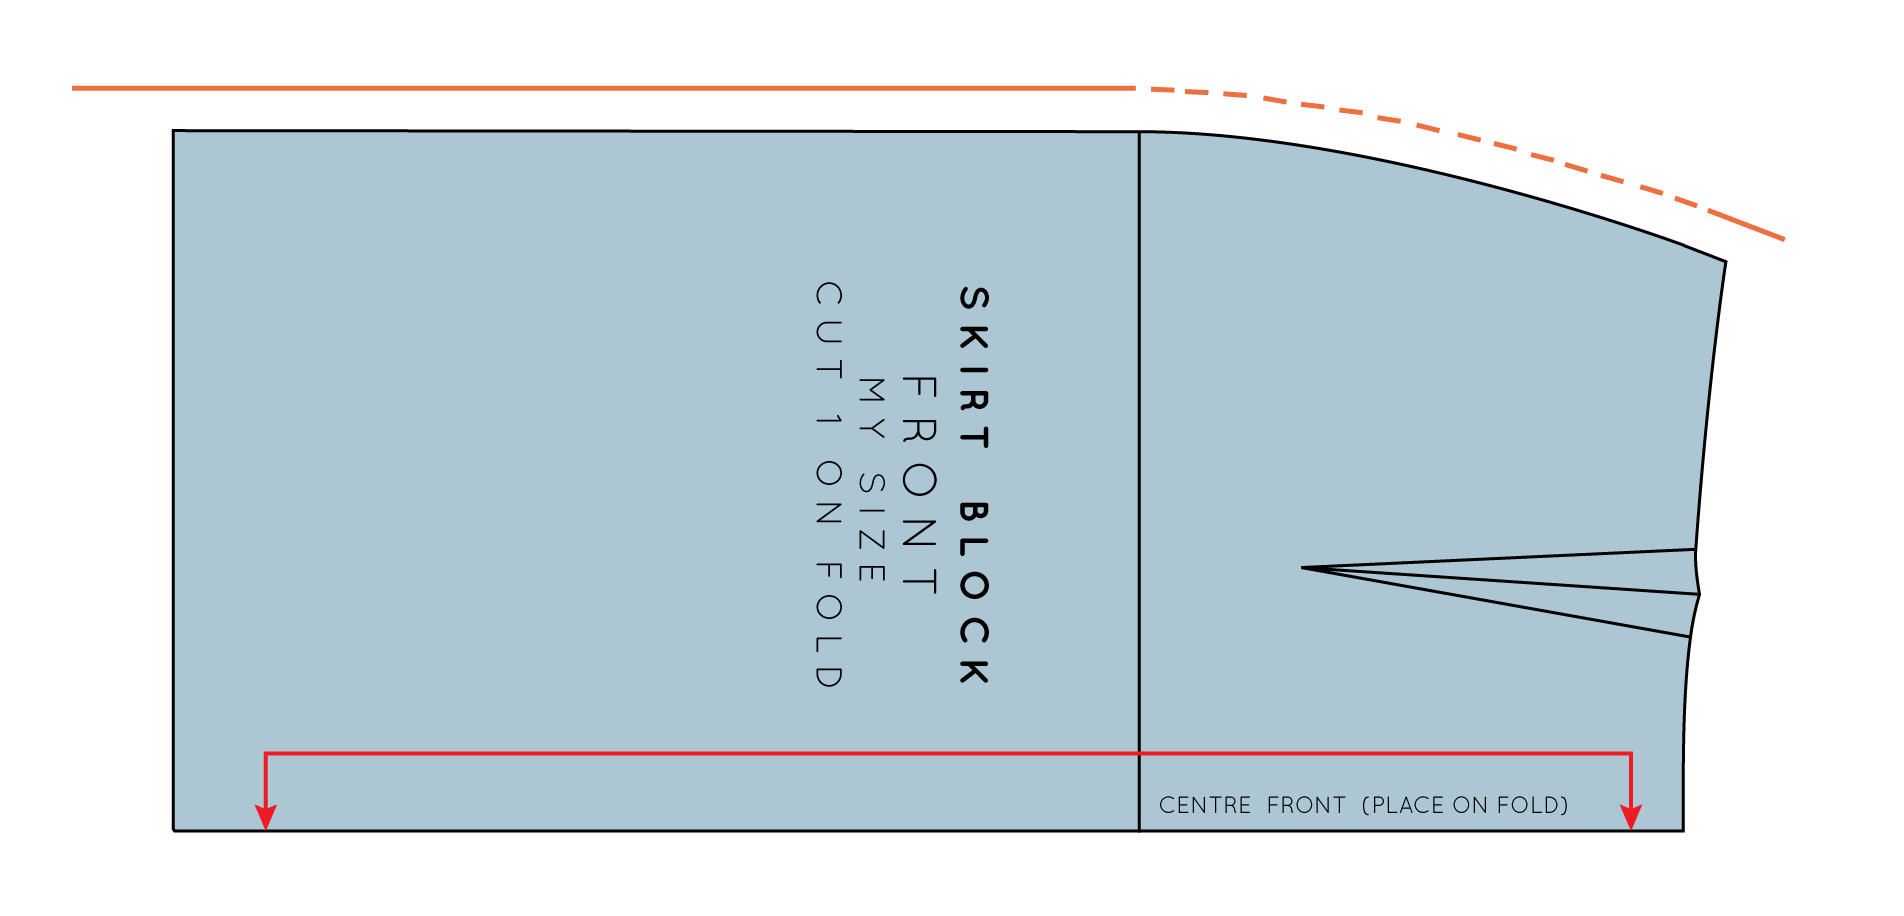
Lay that particular line (the width of your seam allowance) along the side seam of your pattern.
With a sharp pencil, or pacer, draw in your seam allowance, being careful to keep your ruler in place. Be sure to extend the line past the original line by a couple of centimetres (this helps when we add seam allowance to the other seams).
After marking the side seam, it's now time to move on to the hip curve.
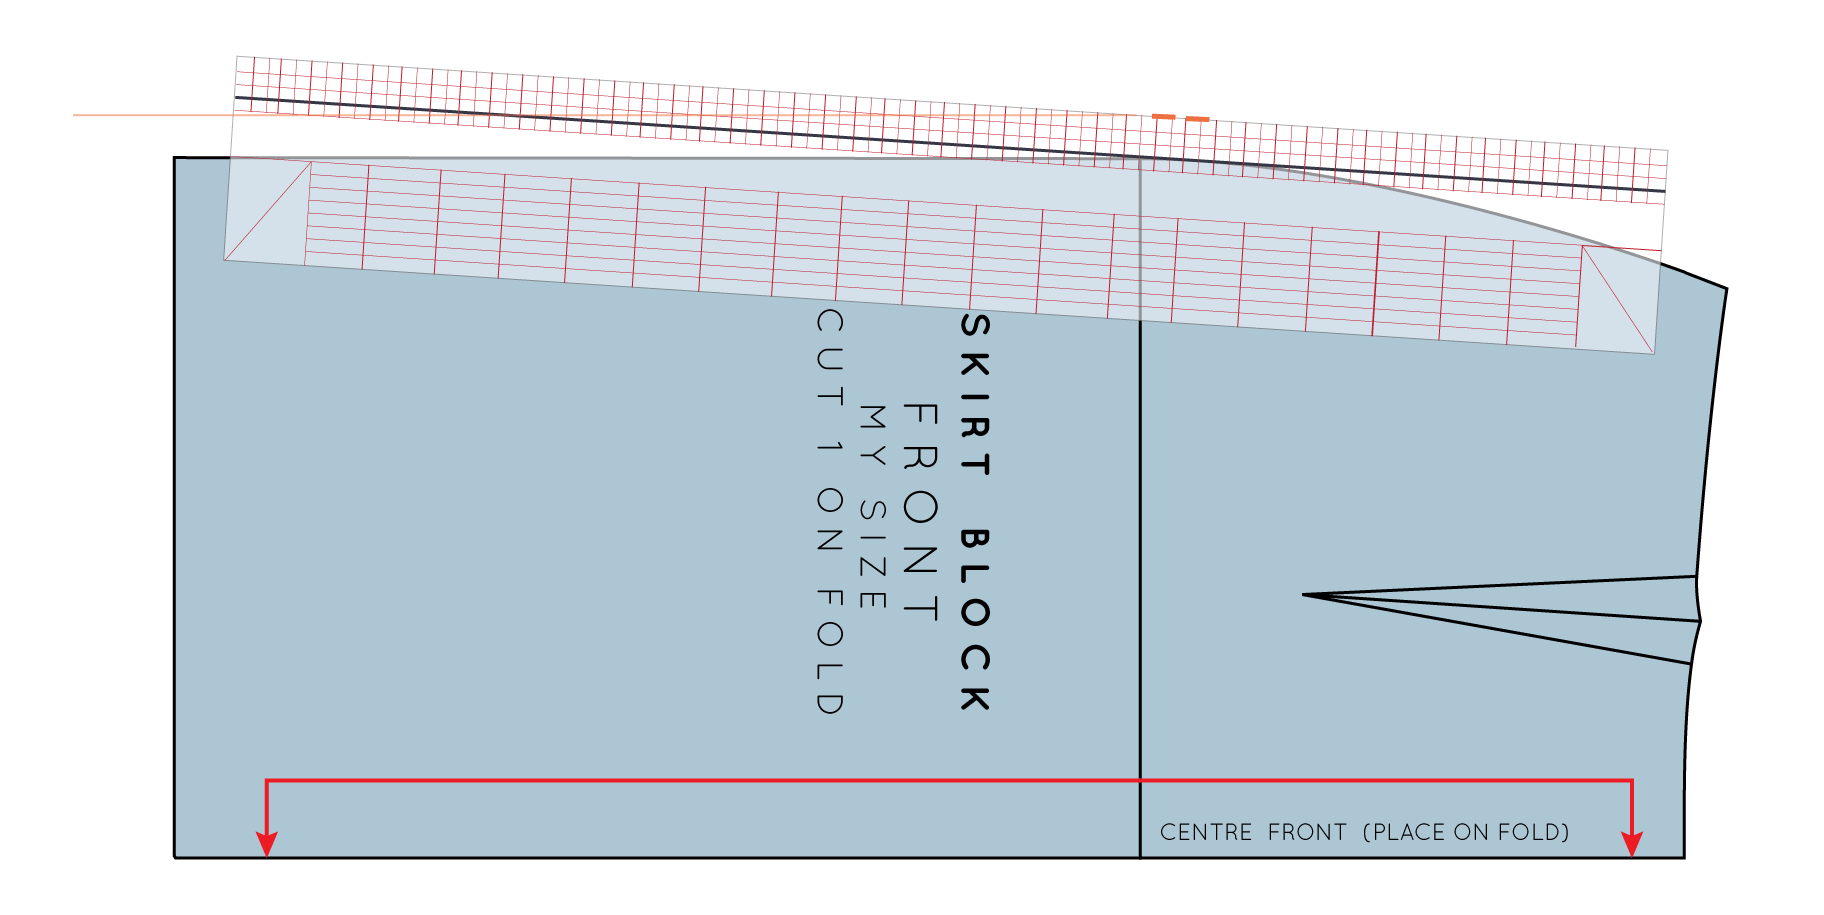
If the seam you are adding seam allowance to is curved (which it is in this case) you will need to mark the seam allowance with a broken line. Line up your seam with the ruler and draw a small line (in this case, two lines).
Then pivot your ruler to you next point (I tend to do this every 1 – 1.5cm) and continue marking the seam allowance with a broken line.
For tight curves (such as the bodice neckline) mark your seam allowance guidelines closer together to ensure a smooth and accurate curve.
Continue pivoting until you have gone around the whole curve.
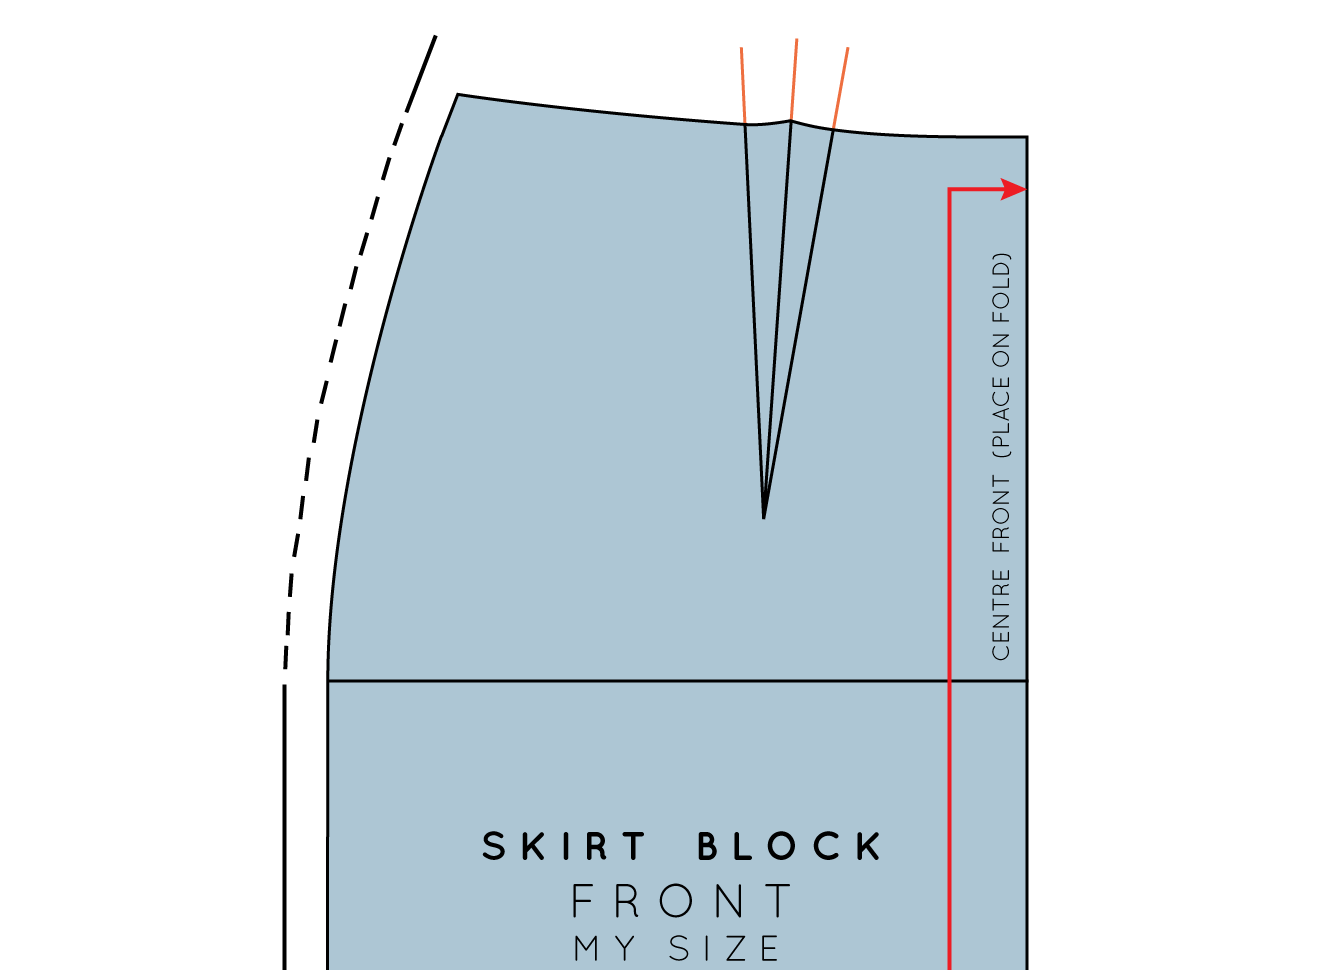
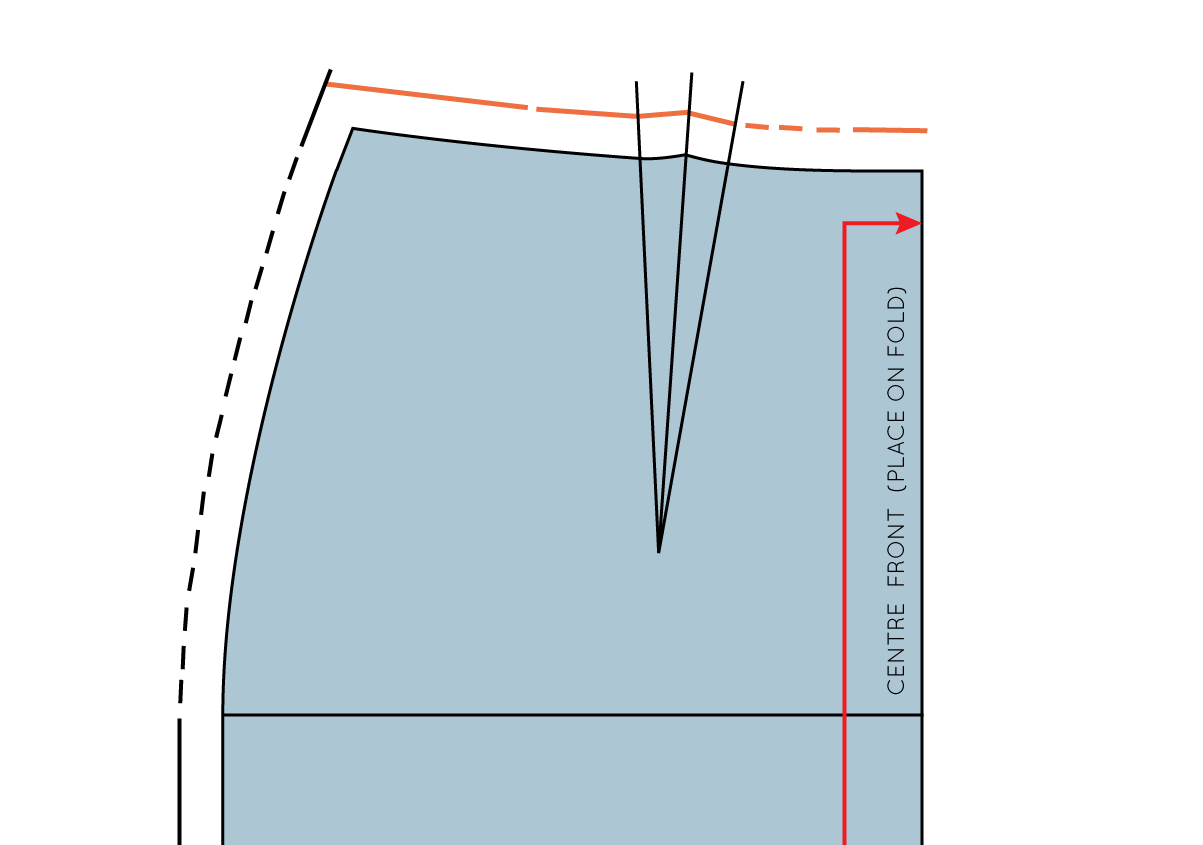
Next, on to the waistline. Before starting to add seam allowance, extend both dart arms, as well as the centre line, by a few centimetres. This will help when you are adding seam allowance to the top of the dart.
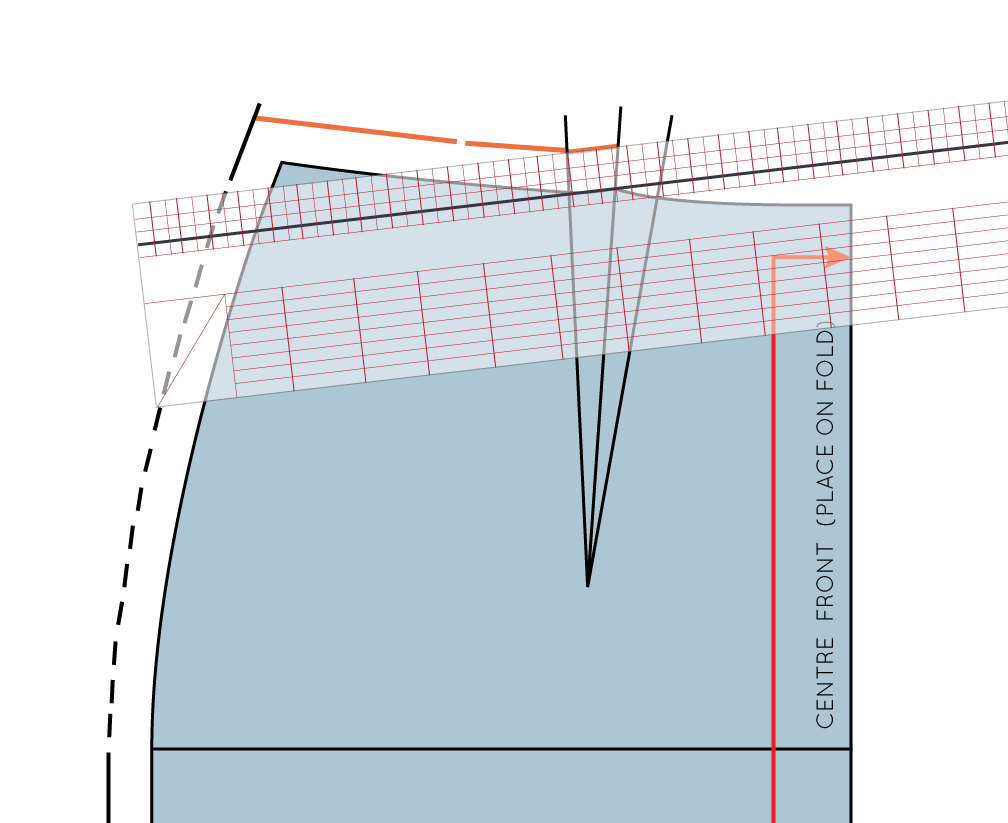
Mark the seam allowance on the waistband, and then follow the angle of the dart, when you get to the first dart arm. Repeat for the other side.
Continue along the waistline, towards the centre front, pivoting the ruler when necessary.
The centre front does not need seam allowance, as you will be cutting this piece on the fold. Just extend the centre front line a little beyond each edge, so that it can intersect with the seams on the other sides.
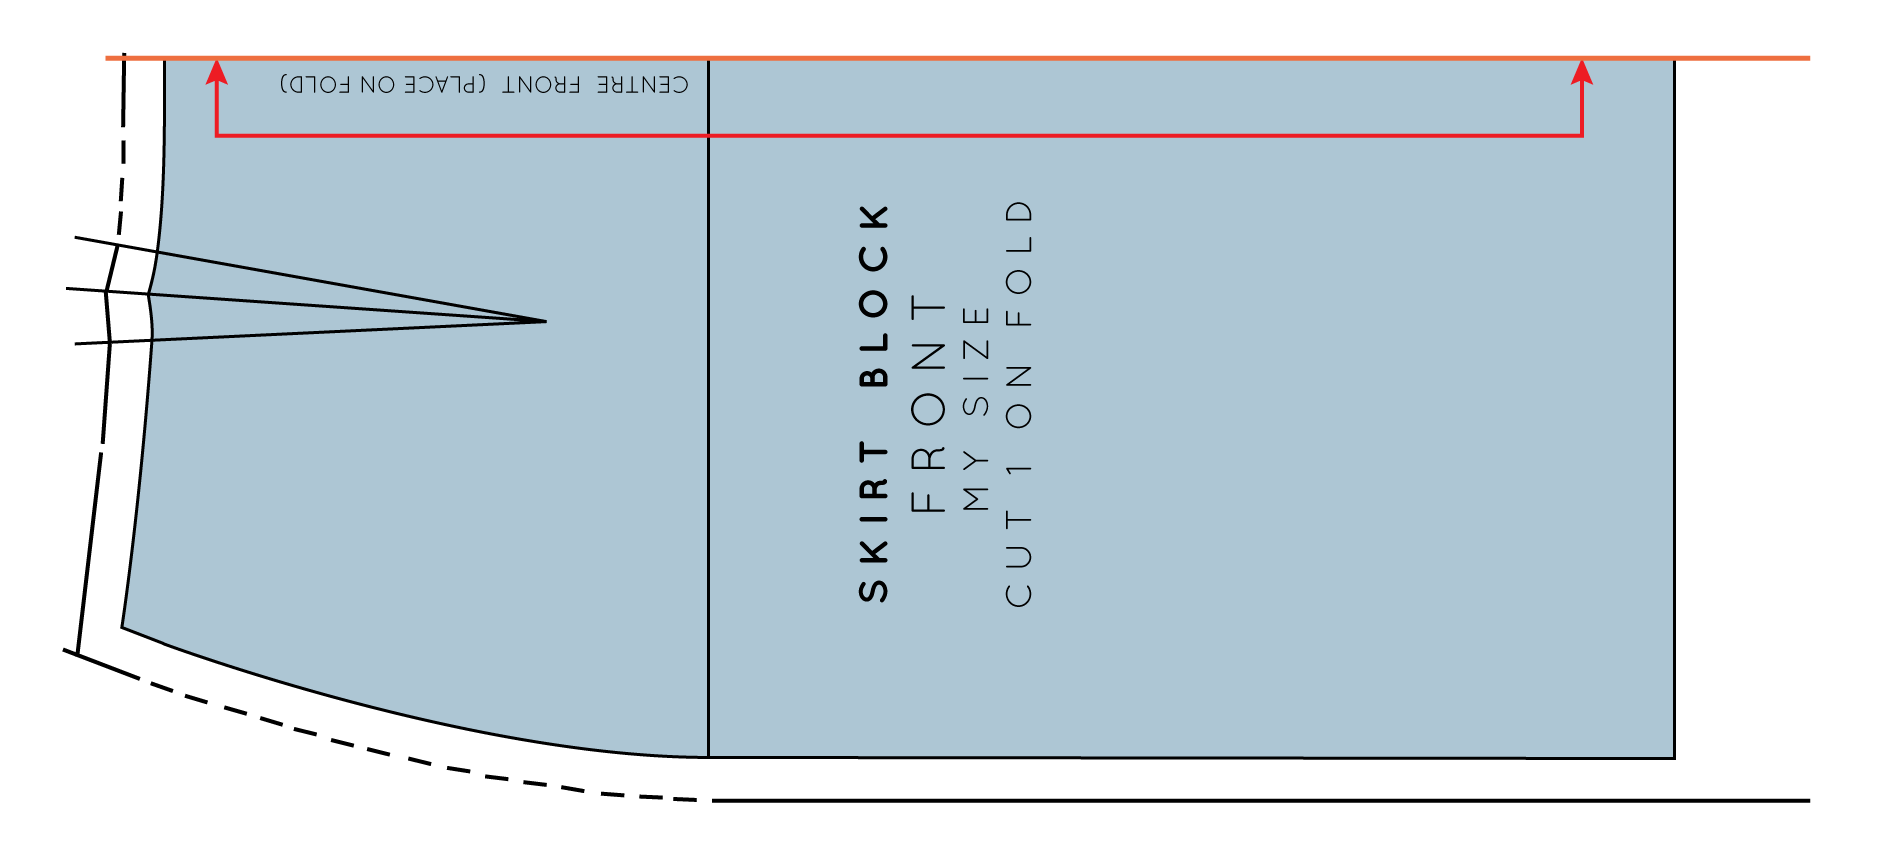
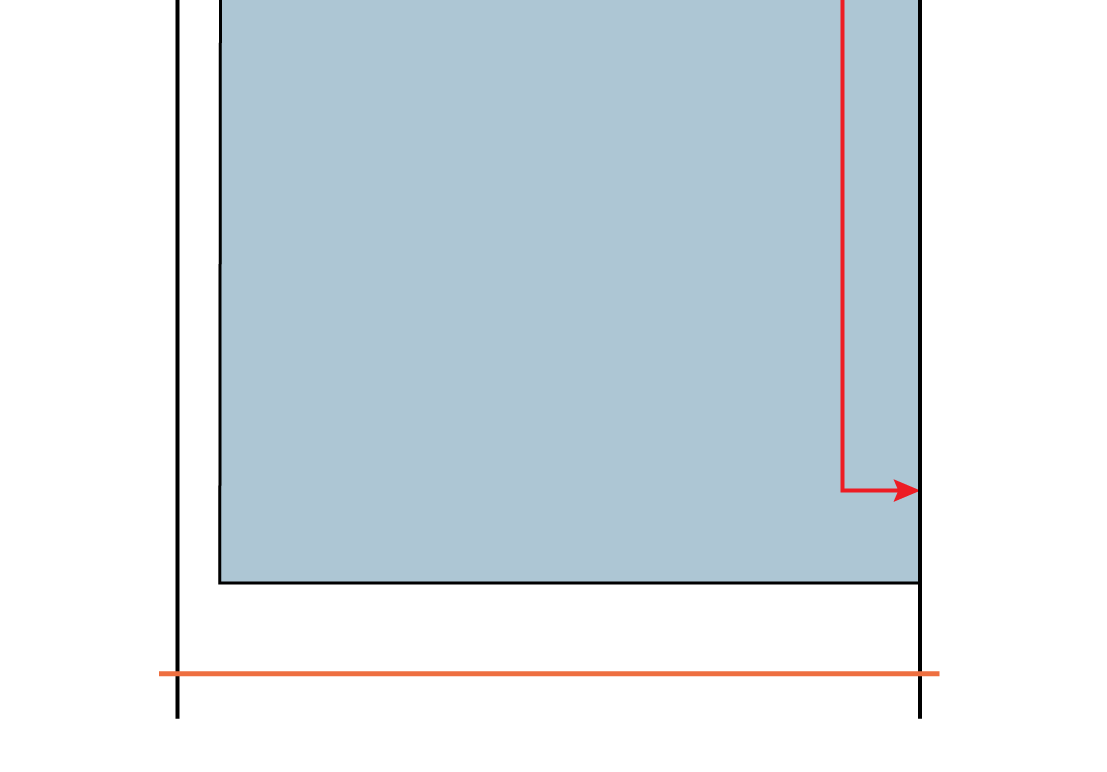
Mark the hem allowance by measuring down the centre front and side seam from the stitching line.
Join the points to create the hemline.
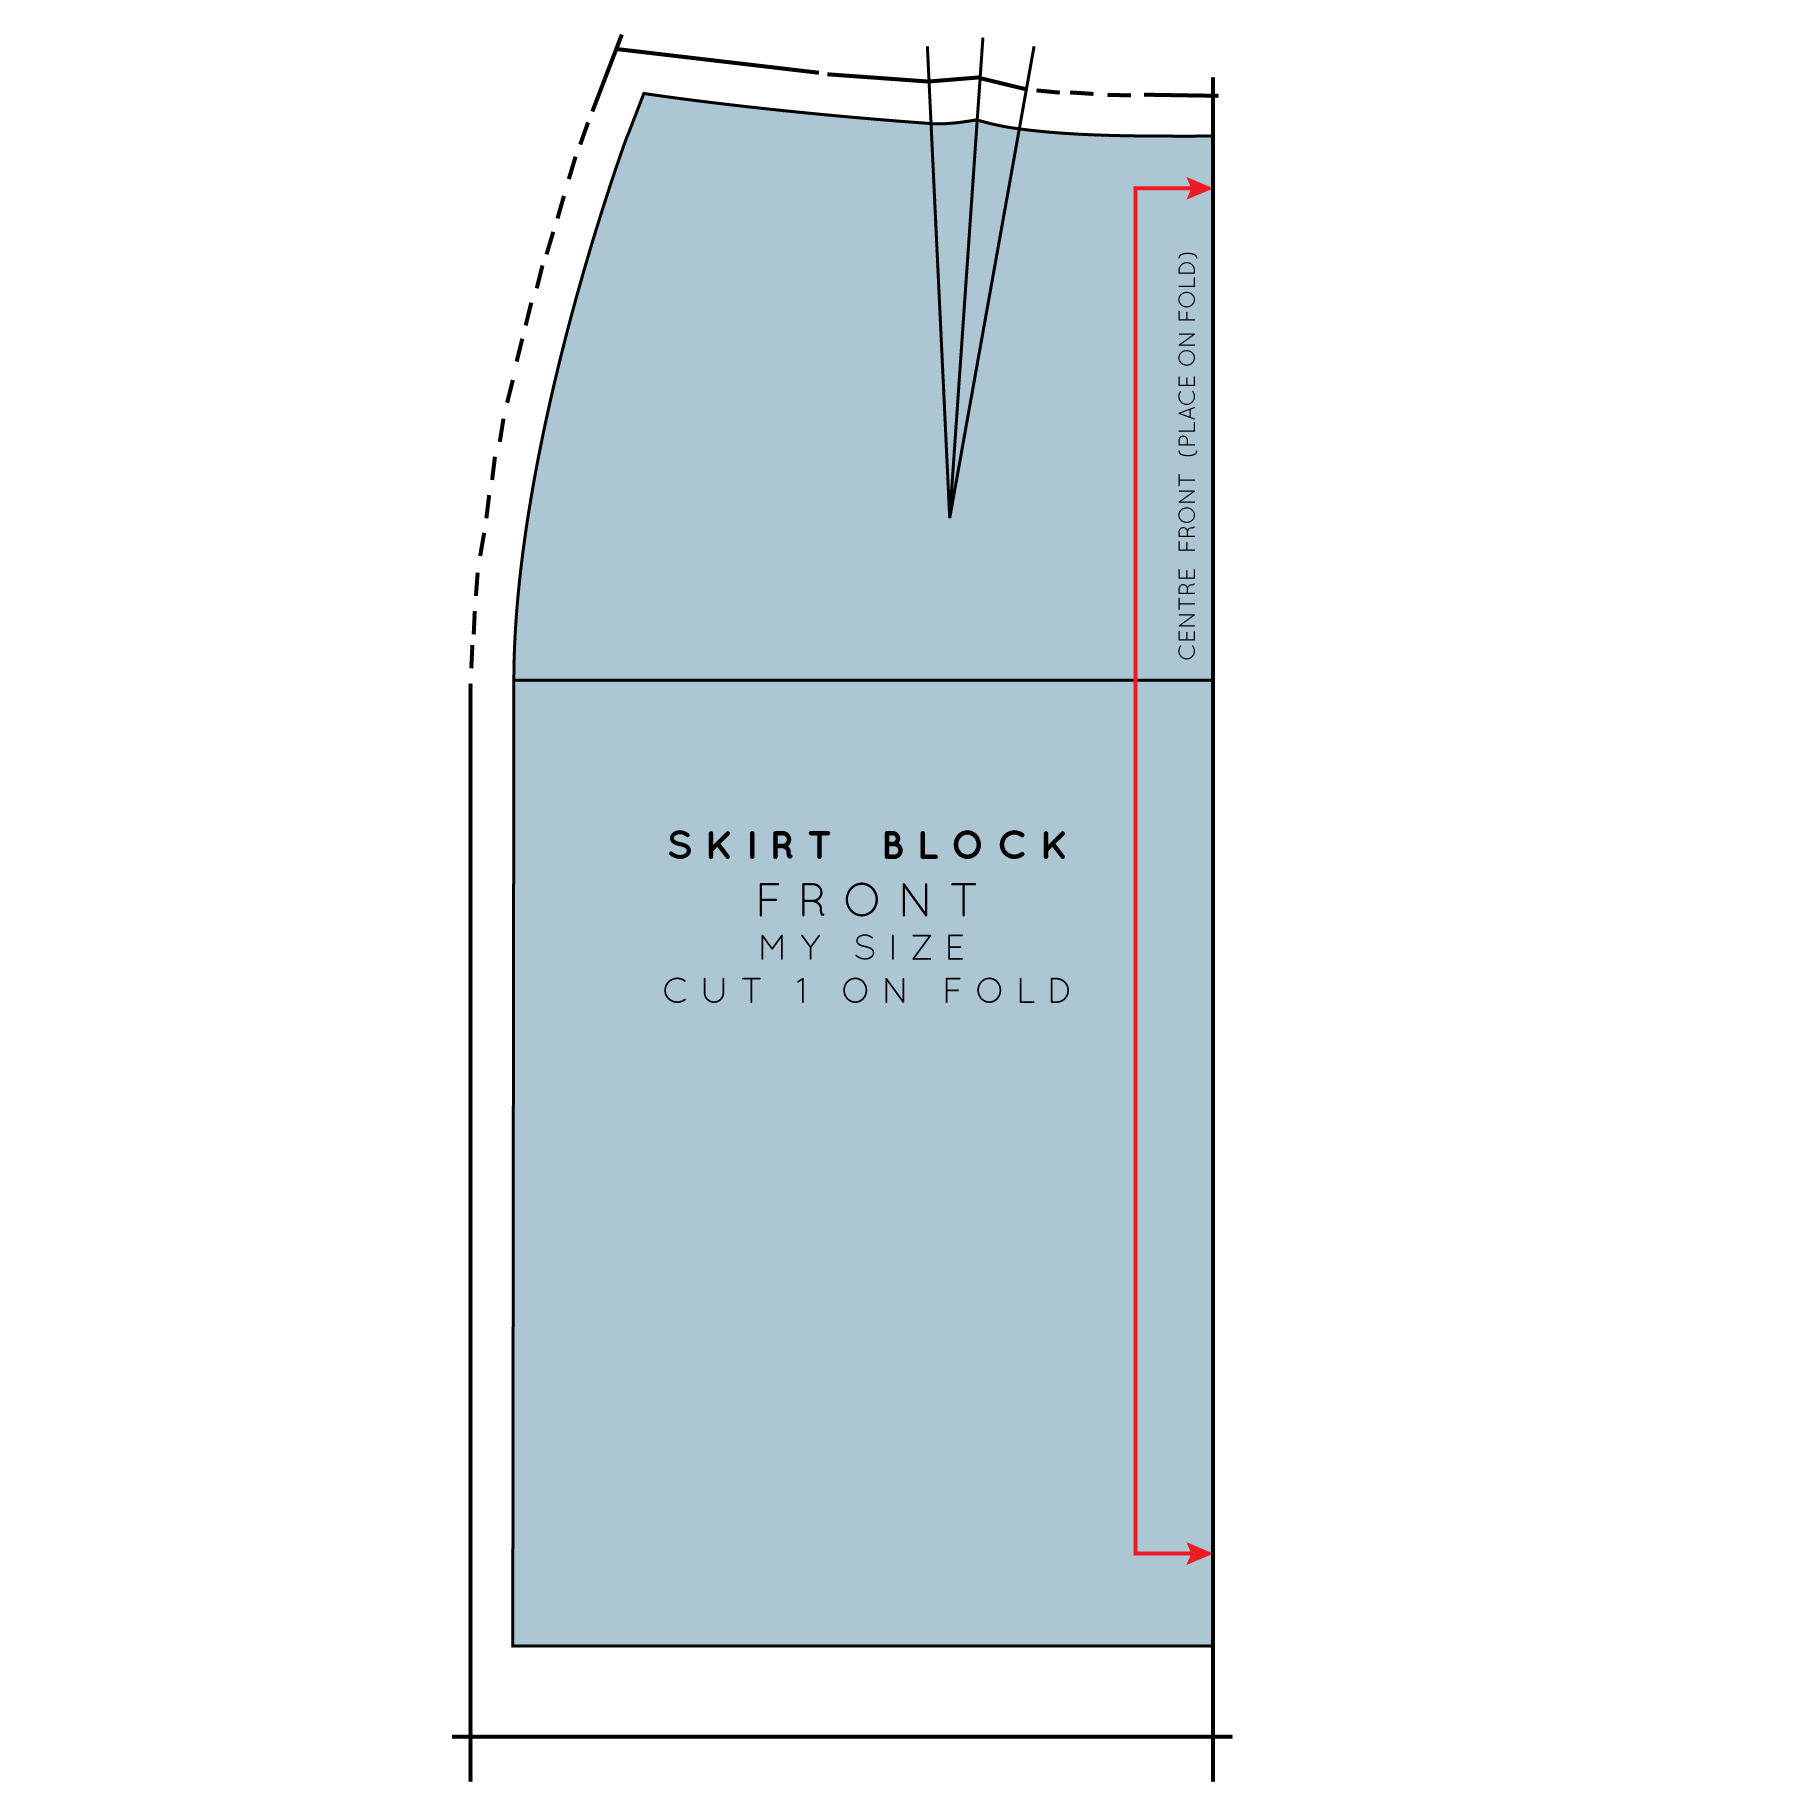
By this stage, you should have worked your way around the whole pattern.
Now to do something about those broken lines.
Draw in your curve by joining the broken lines to form a smooth curve. You can do this by carefully pivoting your ruler, using a French curve or something else round (like a large mug or plate depending on the shape of the curve). A good way to check if your curve is smooth is, with the pattern flat on a table, to crouch down and look at the curve at eye level. You will quickly see if there are any sharp points!
Repeat for the back pattern piece. And you are done, your pattern now has seam allowance!
I would love to know if I have convinced any of you to try doing some pattern making yet?


