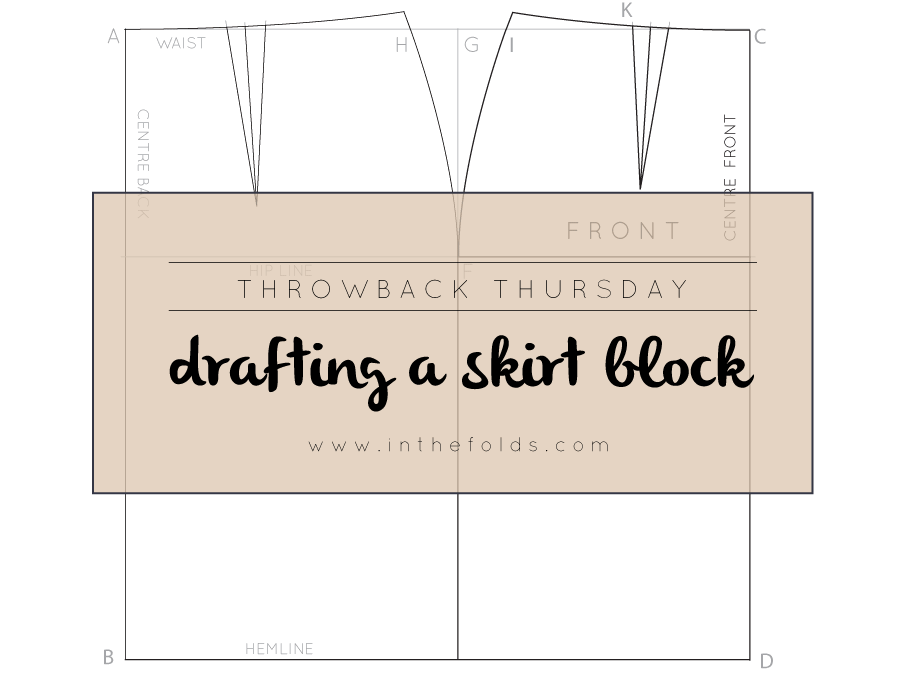
Over the past weeks I have been showing you how to draft a skirt block, as part of The Skirt Series.
Now that it is complete, it is time to start making the pattern your own.
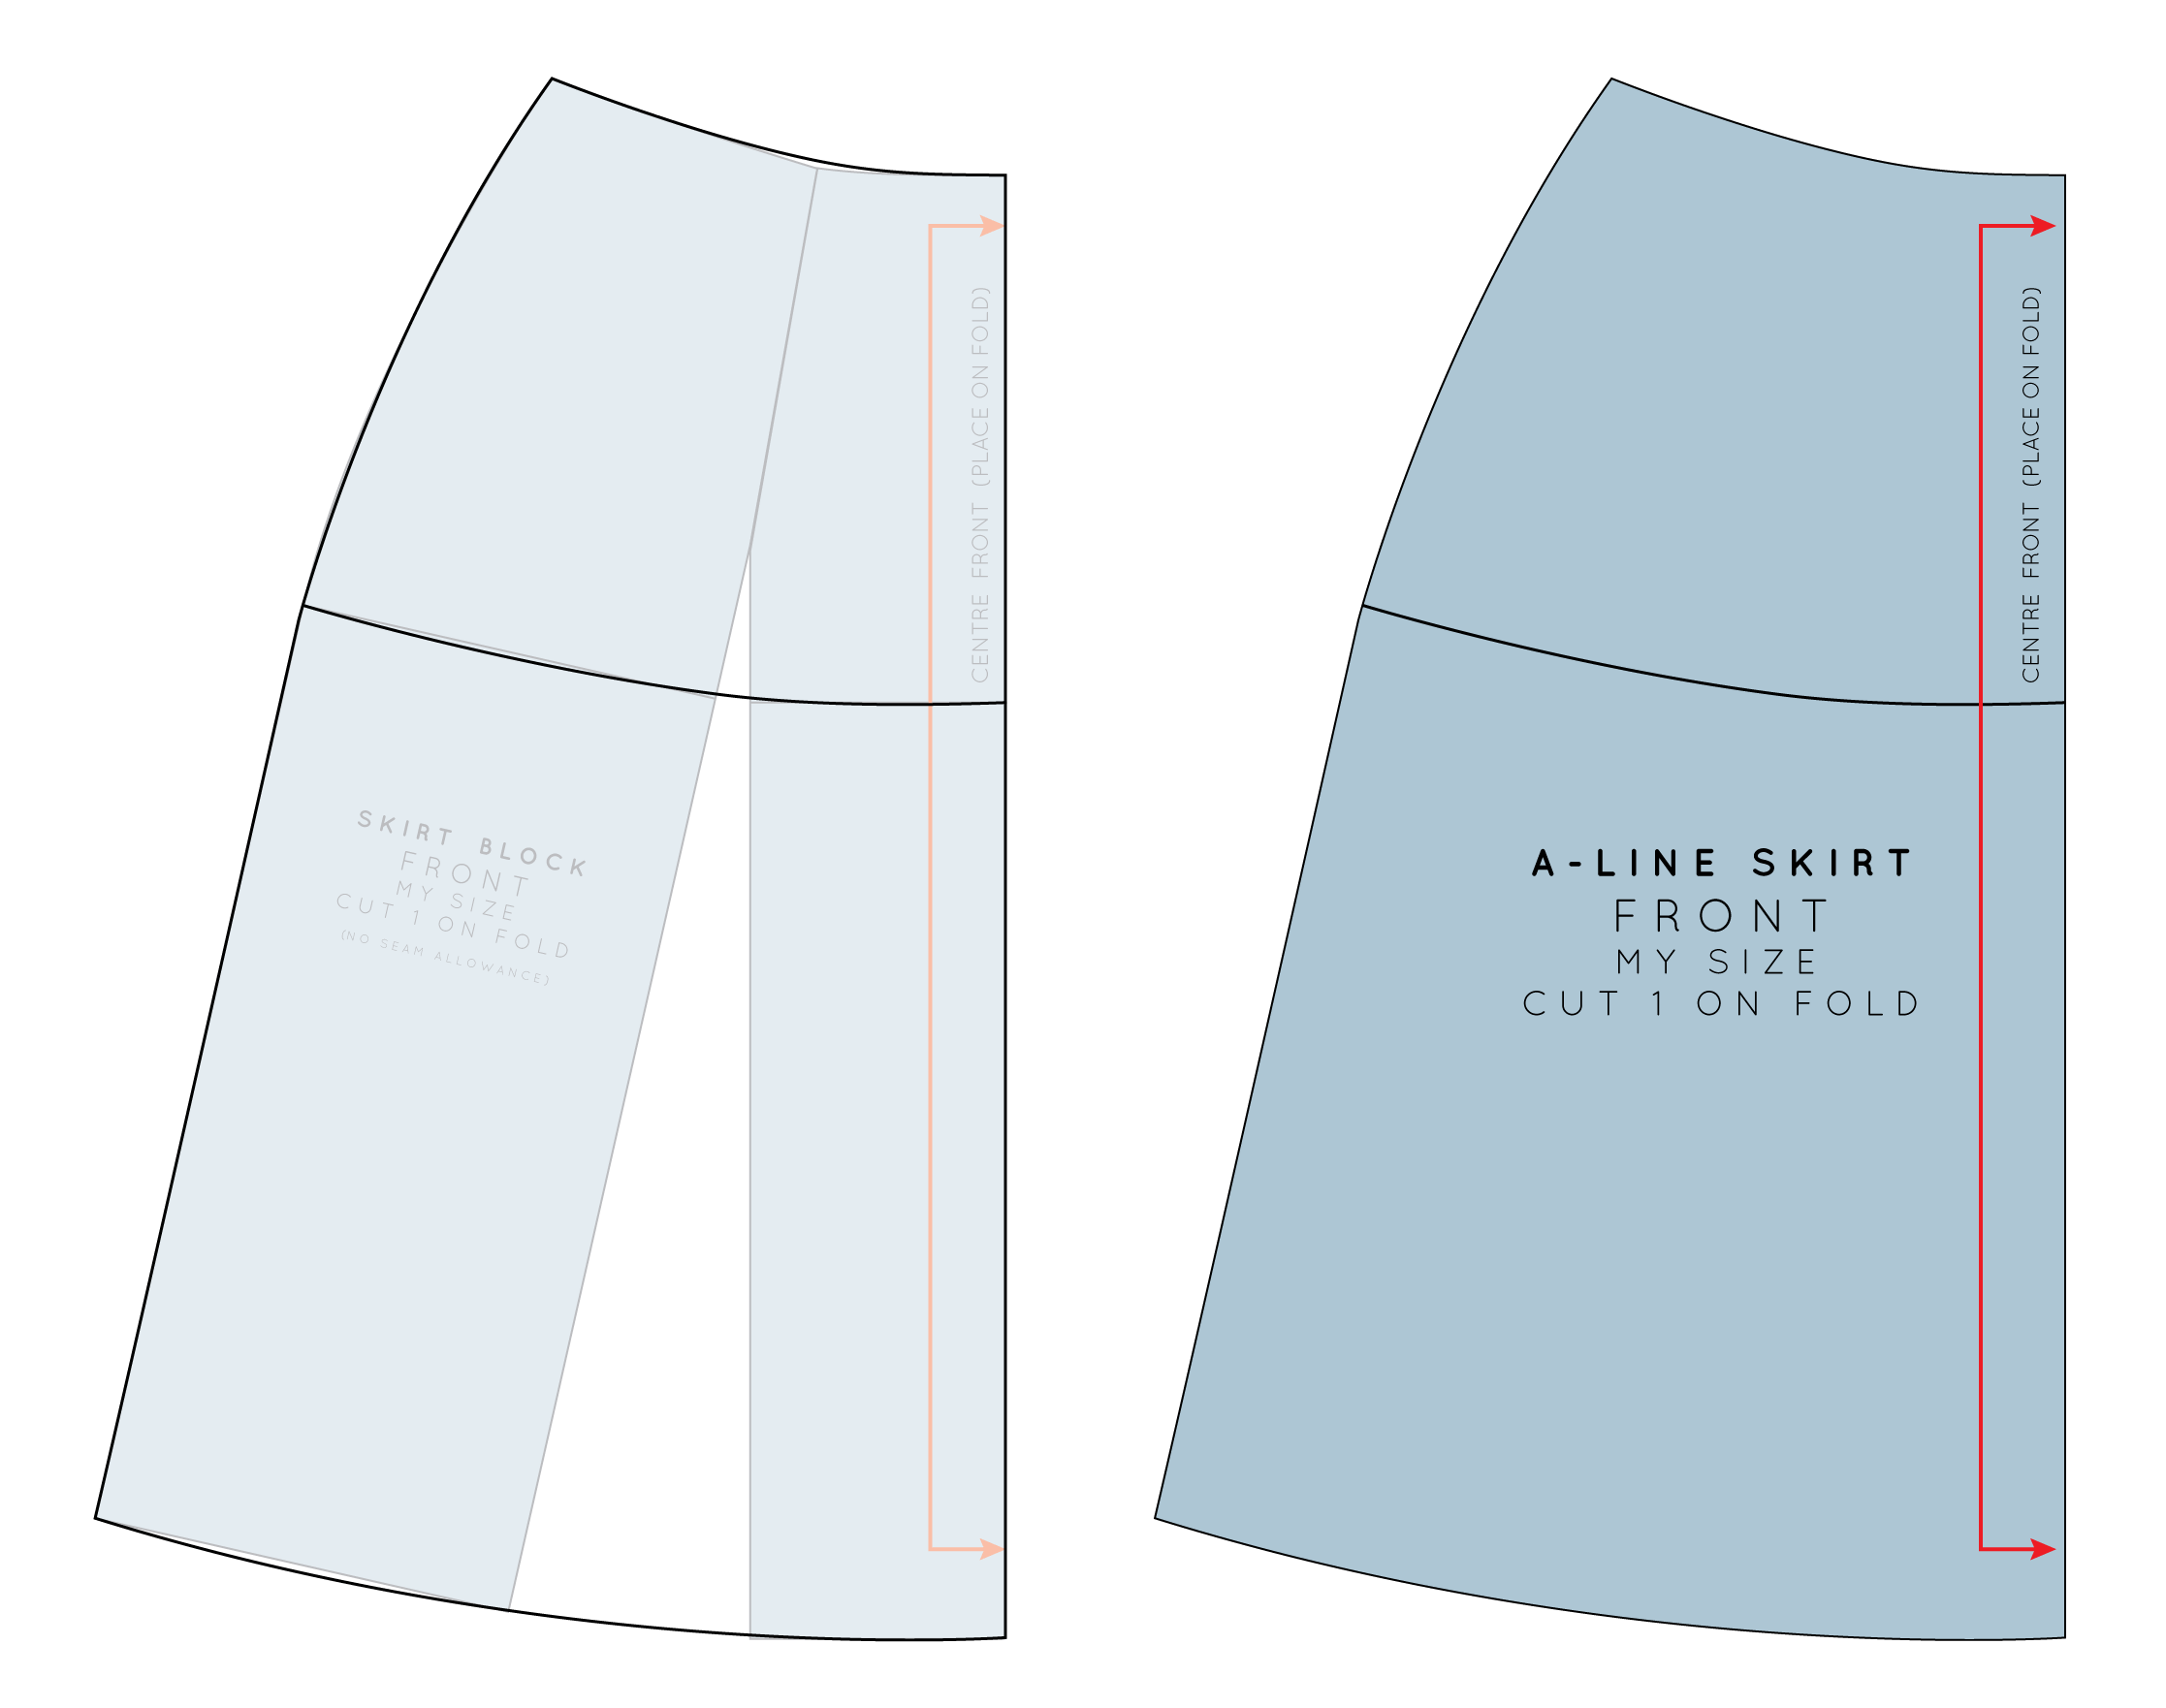
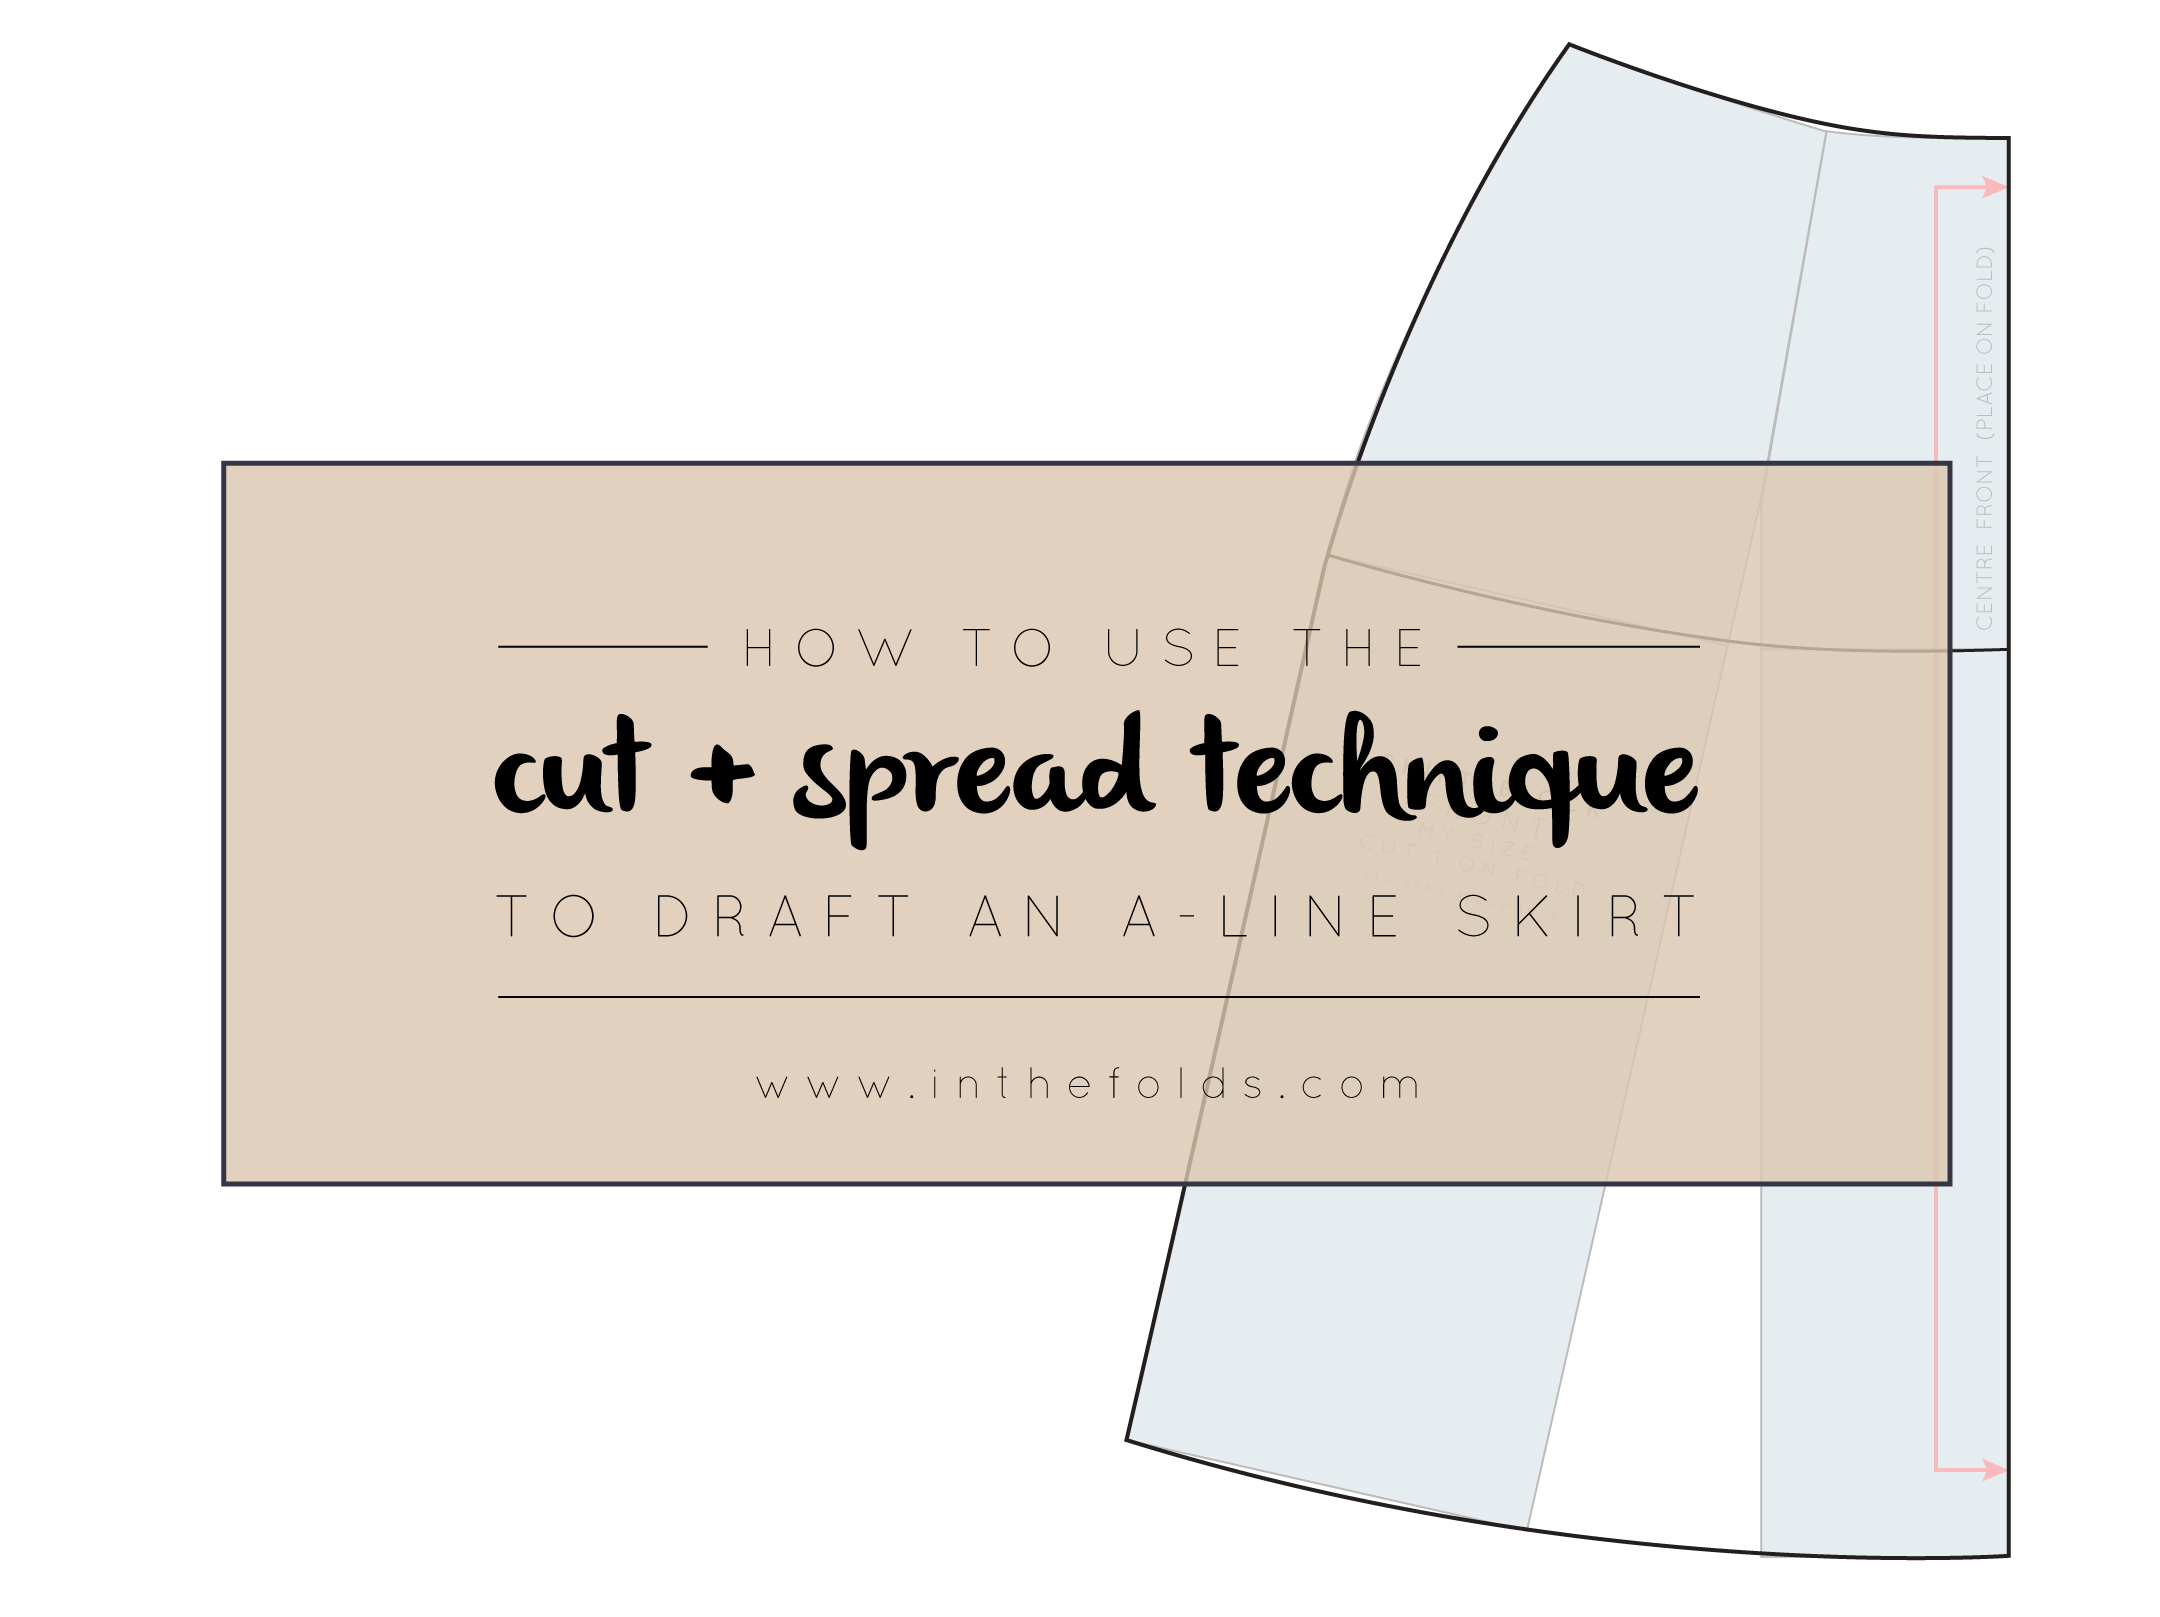
Last week I showed you how to draft an A-line skirt, by relocating the fullness of the dart to the hemline, using the cut and spread technique.
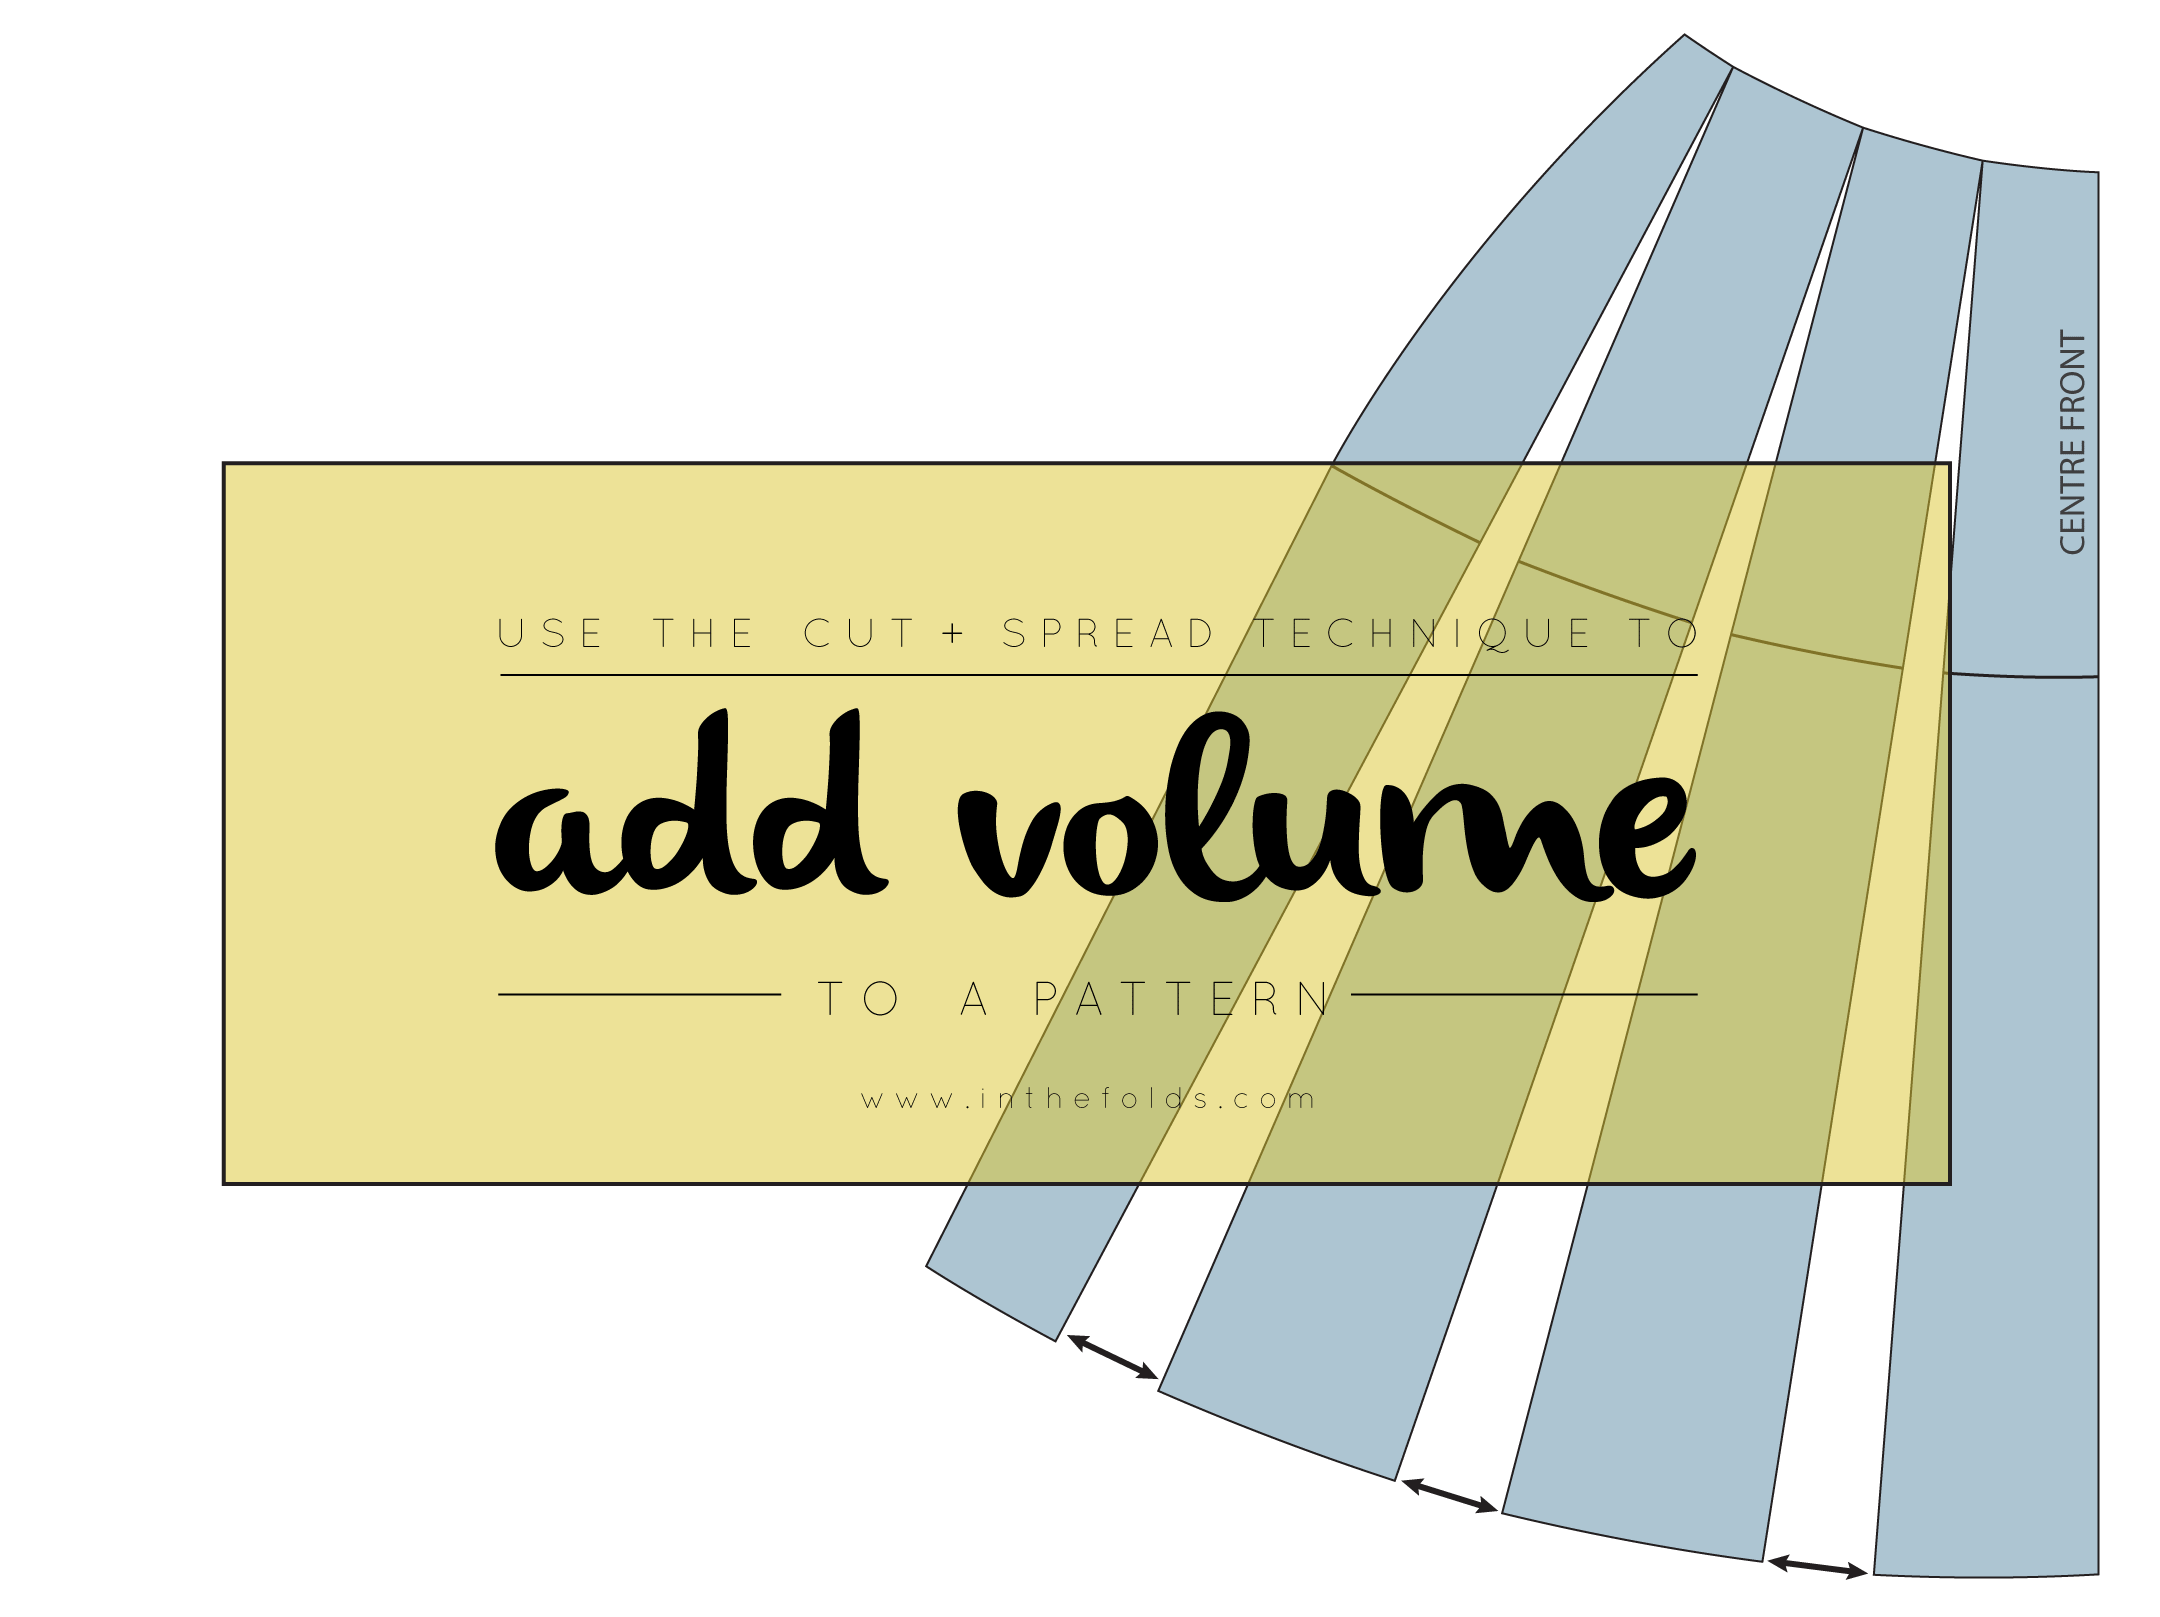
Today I will show you how to add more volume to the skirt block, using this same technique. You can use this same method to add fullness to just about any pattern piece: sleeves, trousers, blouses and jackets, and many more.
Mark the cut and spread lines
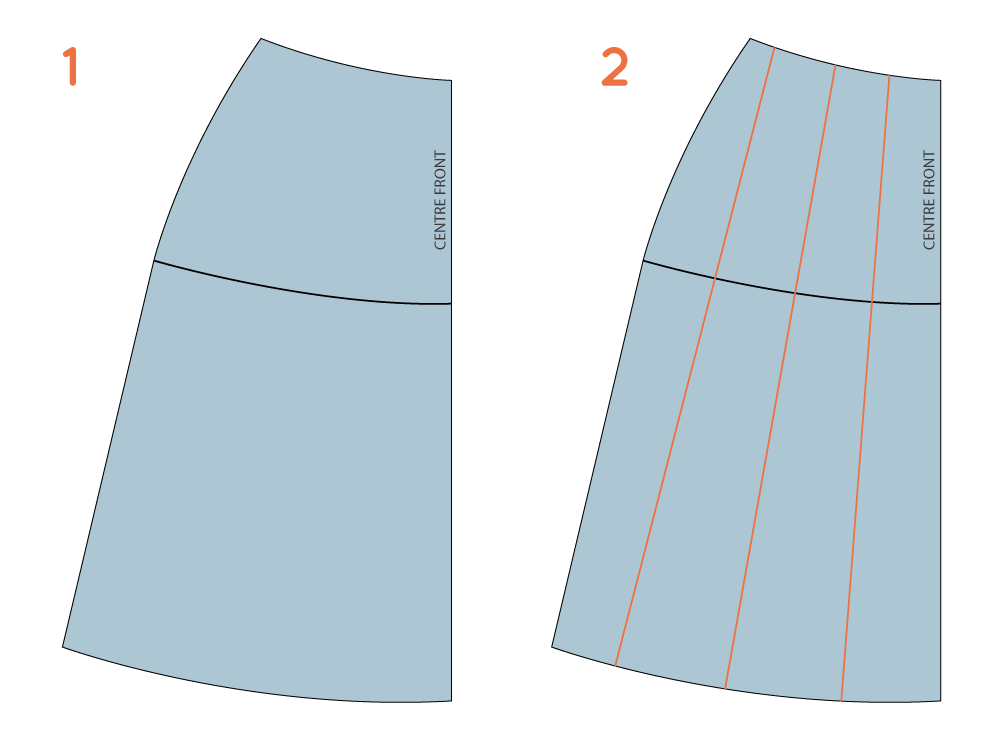
1. I am using my skirt block to demonstrate this tutorial. The darts have already been moved, as shown in this tutorial. As always, it is best to have a copy of your pattern, without seam allowance. It is much easier to make adjustments with seam allowance removed.
2. Draw three lines (this is only a suggestion, you could use more or less) down the length of your pattern, roughly parallel to the centre front. Space them out, with roughly even gaps between them.
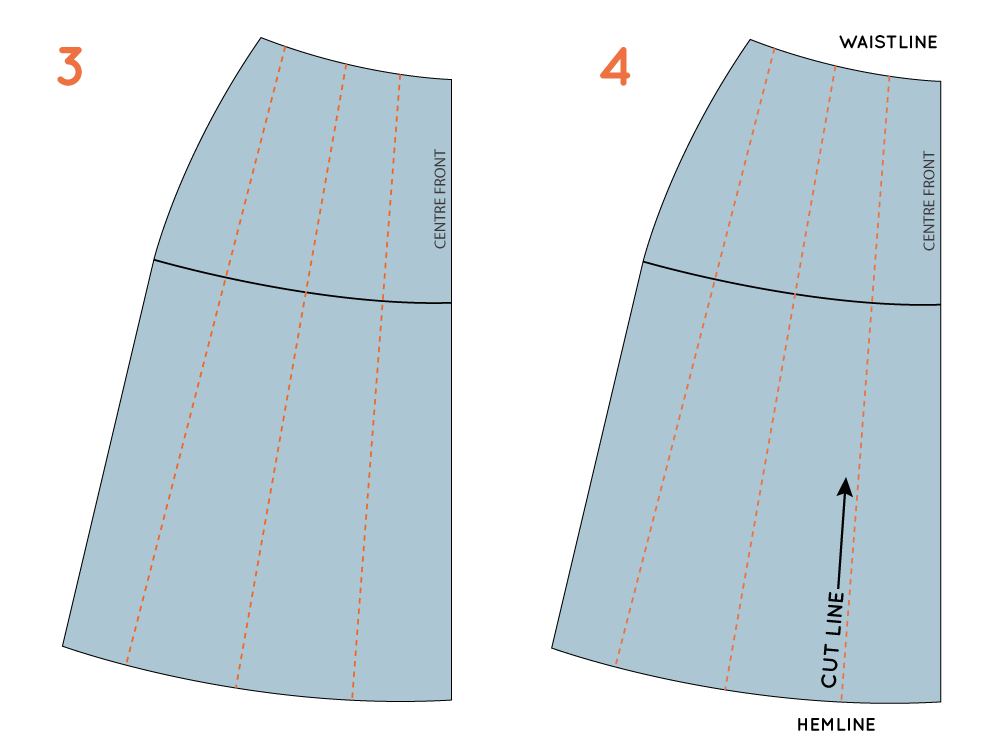
3. You will be cutting these lines, to add volume to the pattern. Wherever there is a line, this is where more fabric will be added - that's why it is best that they are evenly spaced.
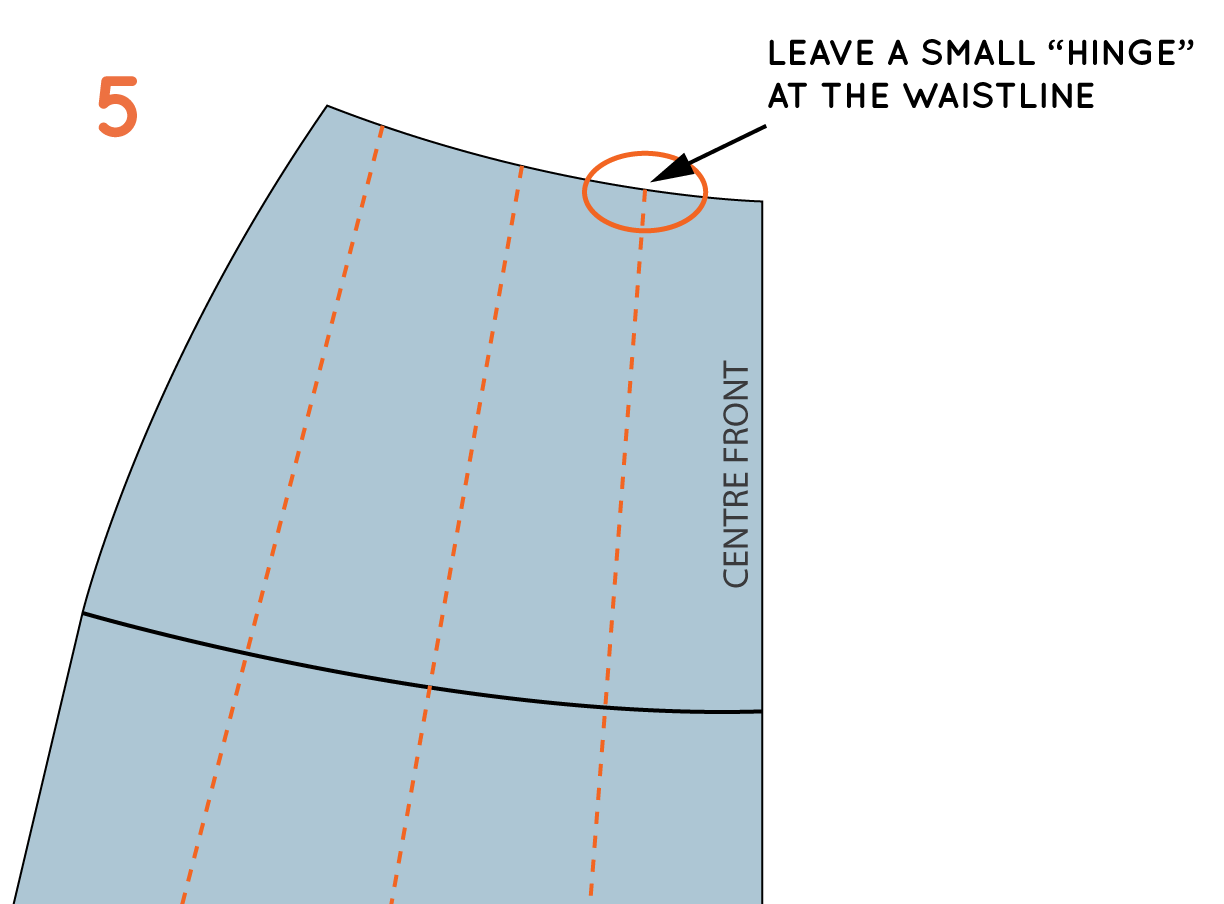
4. Take your scissors and cut along the first guideline, from the hemline up towards the waistline.
5. Do not cut all the way through the pattern. Stop a few millimeters (1/16 in) from the waistline, leaving a 1-2mm "hinge" to keep the two pieces together.
How much volume to add?
Think about how much volume you are wanting to add to the pattern overall. You may want to do this by eye (just cut along the line and then spread until it looks as though enough volume has been added), or by an exact amount. If you are just opening up a hemline, I would say that doing it by eye is fine. But if, for example, the hip-line of a pattern is too tight and you are spreading the pattern to accommodate this, then I would suggest finding an exact amount so that you don't get any surprises.
If you have found an exact amount, you will need to divide this figure by four, as the volume will need to be distributed between the four pieces that make up the skirt pattern (front right, front left, back left and back right). Then divide the number again, by the number of guidelines you have on your pattern piece.
For example, if you would like to add an overall 30cm to the hemline, you will be adding 7.5cm to each pattern piece. If I was to add this to my pattern used as an example, I would divide this 7.5cm by my three guidelines, meaning I would open up each guideline by 2.5cm.
Cut and spread
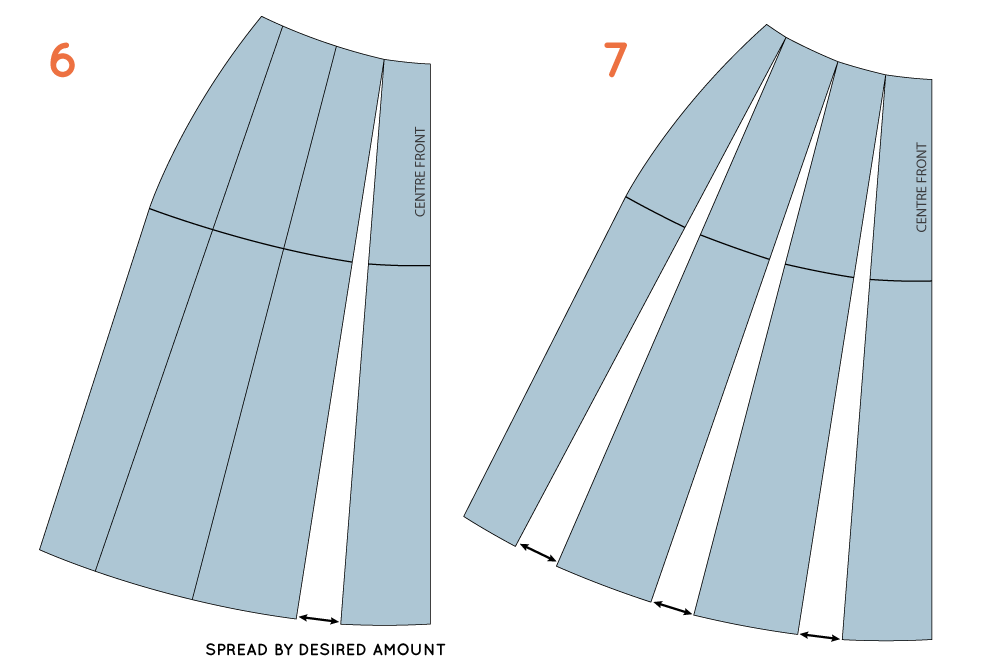
6. Slide a separate piece of pattern paper under your pattern, so that you will have something to stick the pattern to once you make the adjustments. Spread the hemline by the amount worked out in the previous step. Use tape or glue to secure in place.
7. Repeat process for the other lines, spreading each opening by the same amount as the first.
Check pattern
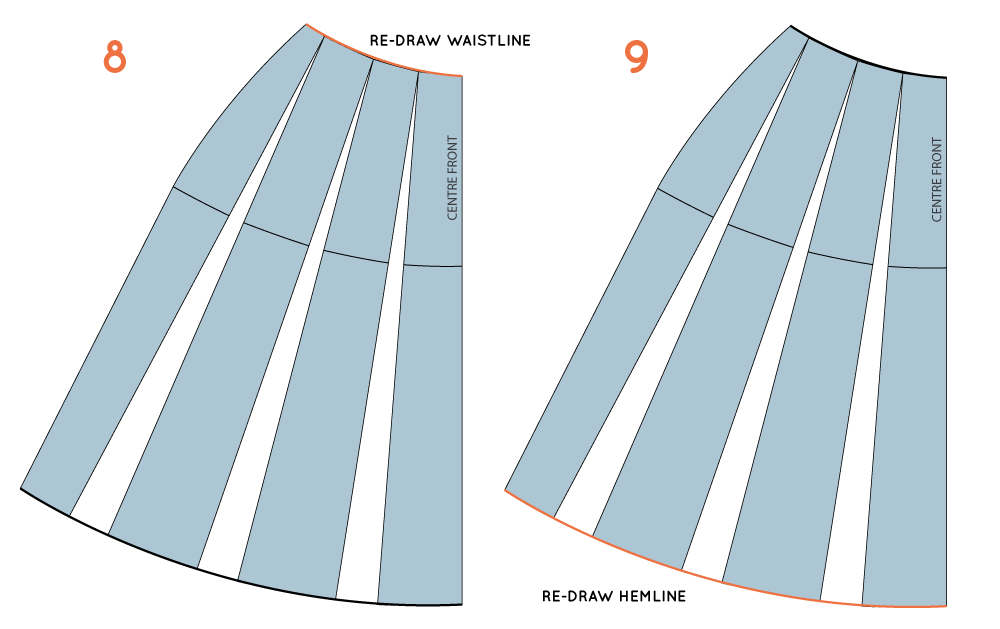
8. Redraw the waistline with a smooth curve.
9. Redraw the hemline with a smooth curve.
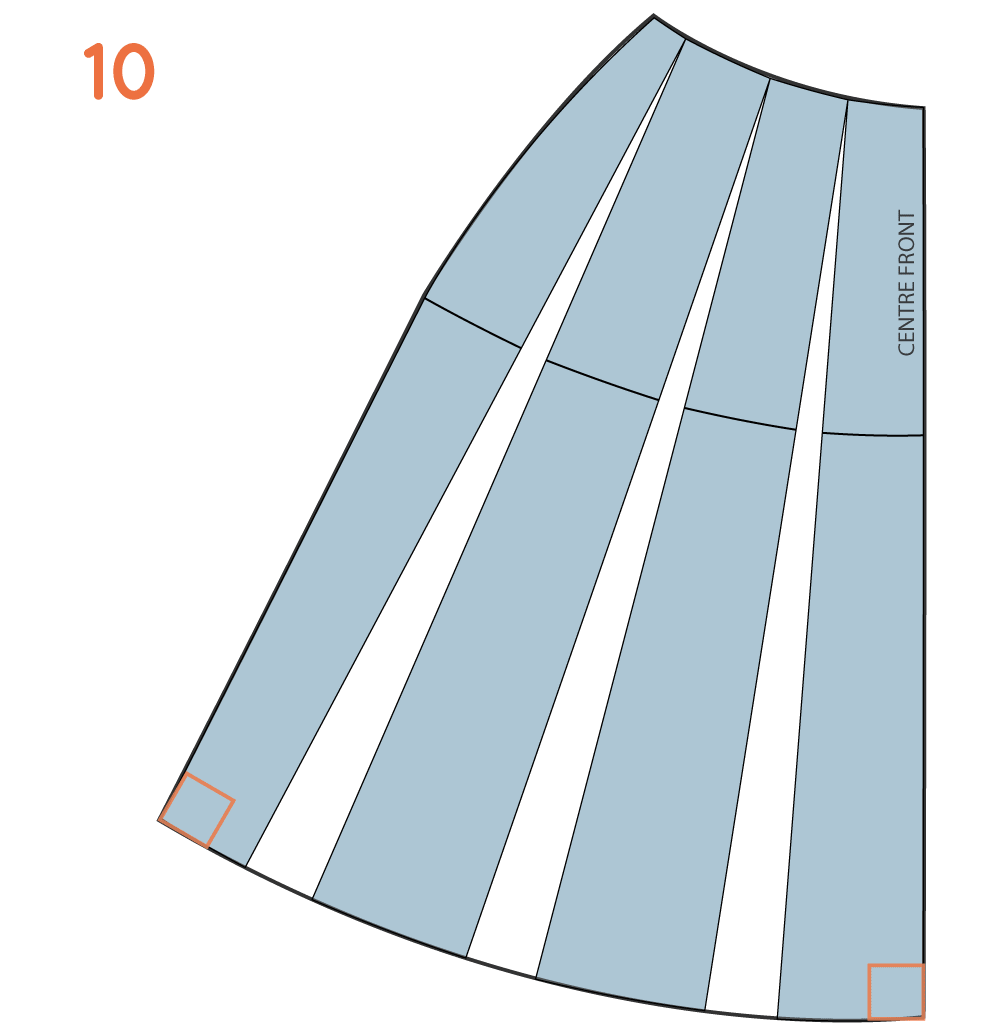
10. Check the the hemline meets the side seam and the centre front with a right angle. This will help you get a nice smooth hemline between front and back pattern pieces.
Complete the pattern
The pattern is done and you can now add seam allowance. If the pattern is a bit of a mess, with all that tape and extra paper, then simply trace a copy onto a seperate piece of paper.

